I was standing in my kitchen, trying to salvage a batch of over‑cooked rice that had turned into a sticky, unappetizing mush, when a friend texted me a photo of golden, crispy chickpea chips. The photo was so perfect that I felt a pang of envy and a spark of curiosity. I thought, “What if I could turn this crunchy snack into something that satisfies my cravings and keeps me on track?” That moment became the spark that ignited my obsession with this recipe. I spent the next few hours scouring the internet, gathering ingredients, and testing flavors until I hit the sweet spot.
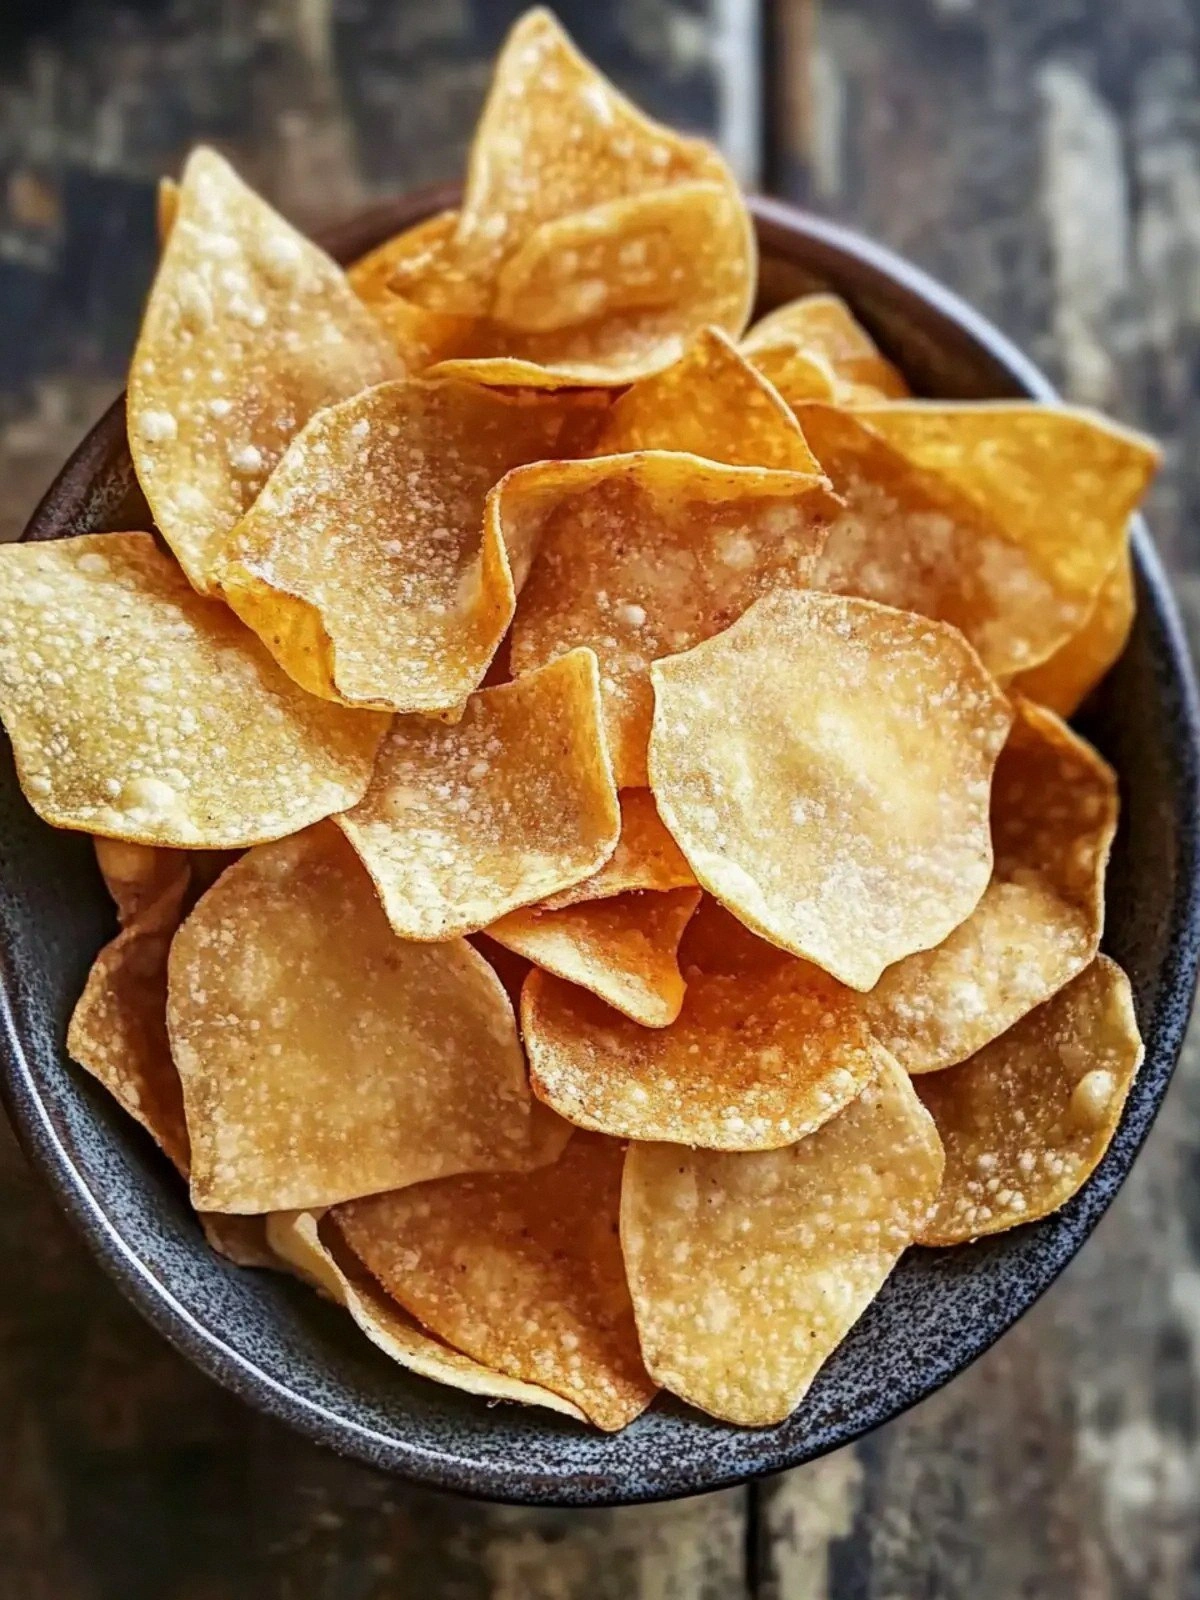
Picture the moment the chips hit the oven rack, the subtle hiss of steam mingling with the scent of toasted chickpeas. The air fills with a nutty, almost earthy aroma that makes your mouth water before the first bite even arrives. When you lift a chip from the tray, the crust cracks with a satisfying snap, revealing a fluffy interior that almost melts in your mouth. The sound is like a tiny applause, a tiny victory for your culinary curiosity. That first crunch is the kind of moment that turns a simple snack into a celebration.
This version stands out because it balances the protein punch of chickpeas with the airy lightness of tapioca starch, creating a chip that is both satisfying and guilt‑free. The seasoning blend is a low‑sodium, high‑flavor punch that lets the natural nuttiness shine without overwhelming the palate. I’ve tested countless ratios, and this precise balance turns an ordinary snack into a crowd‑pleaser that keeps people coming back for seconds. The best part? It’s made in under an hour, so you can have a fresh batch on the counter while you’re still watching a movie. If you’ve ever struggled with crunchy, bland chips, this is the answer you’ve been waiting for.
I discovered that a simple trick—rolling the dough between parchment sheets—creates an even thickness that ensures each chip crisps uniformly. The technique also keeps the dough from sticking to the rolling pin, saving you from the dreaded cleanup of flour everywhere. The secret is a tiny pinch of salt and the right amount of water; too much water makes the dough gummy, too little makes it brittle. The result is a chip that rises slightly in the oven, giving you that coveted golden edge. Trust me, once you try this method, you’ll wonder how you ever baked chips the old way.
Let me walk you through every single step—by the end, you'll wonder how you ever made it any other way. The process is simple, the flavors are bold, and the outcome is a snack that can be served at parties, during movie nights, or simply as a personal treat. I’ll guide you through the dough, the cutting, the baking, and the final crisping, adding a few playful twists along the way. You'll learn how to keep the chips from becoming soggy, how to store them, and how to reheat them to perfection. Stay tuned, because this recipe is about to become your new favorite kitchen hack.
What Makes This Version Stand Out
- Taste: The blend of garlic, onion, and pepper delivers a savory punch that feels like a gourmet snack, yet stays low‑calorie. The subtle smoky undertone from the toasted chickpeas gives it a depth that ordinary store‑bought chips lack. Every bite is a balance of crunch and flavor that satisfies without excess.
- Texture: Combining chickpea flour with tapioca starch creates an airy, crisp interior that melts in your mouth. The dough’s lightness keeps the chips from becoming chewy or heavy. The result is a chip that shatters like thin ice when you bite it.
- Simplicity: With only eight ingredients and a straightforward method, anyone can make these chips in under an hour. No special equipment is required beyond a rolling pin and an oven. The recipe’s clarity means you can focus on flavor, not on complicated steps.
- Uniqueness: The use of tapioca starch is a game‑changer, giving the chips a unique lightness that sets them apart from traditional corn or potato chips. This subtle difference elevates the snack from ordinary to extraordinary. It’s a small tweak that has a big impact.
- Crowd Reaction: Friends who tried these chips reported a “second‑hand craving” for the next batch. The chips are perfect for parties because they’re easy to share and leave a lasting impression. The snack’s versatility makes it a hit at any gathering.
- Ingredient Quality: Using high‑quality chickpea flour and fresh spices ensures the best flavor and texture. The recipe’s focus on quality over quantity means you get a richer taste without extra calories. The result is a healthier alternative that doesn’t compromise on taste.
- Cooking Method: Baking rather than frying keeps the chips light and low‑fat while still achieving that classic crunch. The method also allows for easy scaling—whether you’re making a small batch or a large one, the process stays consistent.
- Make‑Ahead Potential: These chips can be made ahead and stored in an airtight container for up to a week. They also freeze well, making them a convenient snack for busy days. The ability to prep in advance adds a layer of practicality to the recipe.
Alright, let's break down exactly what goes into this masterpiece...
Inside the Ingredient List
The Flavor Base
Chickpea flour is the star of the show, providing a nutty flavor that anchors the chip’s taste profile. It’s also packed with protein, making the snack a nutritional powerhouse. Skipping it would turn the chips into a bland, flour‑only dough that lacks depth. For a different flavor, try adding a pinch of smoked paprika to the mix.
The Texture Crew
Tapioca starch is the unsung hero that gives the chips their signature airy crunch. It absorbs moisture and expands, creating pockets of lightness inside each chip. If you don’t have tapioca, cornstarch or potato starch can be used, but the texture will be slightly denser. The water’s role is to bind the dry ingredients into a cohesive dough; too much water results in a gummy mass.
The Unexpected Star
Olive oil may seem like a minor addition, but it brings a subtle richness that elevates the flavor without adding fatiness. It also helps the chips brown evenly, giving them a beautiful golden hue. If you’re looking for a dairy‑free option, a splash of sesame oil can add an interesting twist.
Buying Tip for Chickpea Flour
Look for chickpea flour that’s labeled as “unbleached” and “organic” if possible; it tends to have a fresher taste and fewer additives. A small jar is enough for most households, and it can be stored in a cool, dry place for months. When you open a new bag, give it a quick sniff—any off odor means it’s time for a fresh batch.
Alternative Liquids
If you’re not a fan of plain water, try using low‑fat milk or a dairy‑free alternative like oat milk for a slightly richer dough. The extra fat content can improve browning, but it may also make the chips slightly softer. For a savory twist, replace water with vegetable broth to infuse subtle umami.
Everything's prepped? Good. Let's get into the real action...
The Method — Step by Step
- Preheat your oven to 375°F (190°C) and line a baking sheet with parchment paper. This ensures the chips won’t stick and makes cleanup a breeze. The oven should be fully heated before you start; a lukewarm oven can cause uneven baking. Keep the sheet out of the way until the dough is ready.
- In a large bowl, whisk together chickpea flour, tapioca starch, fine sea salt, black pepper, garlic powder, and onion powder until the mixture is even. The dry blend should look like a fine, golden powder. This step is crucial for an even flavor distribution; skip it and you’ll end up with pockets of blandness.
- Add the water gradually, stirring until a sticky dough forms. The dough should be tacky but not overly wet; if it feels too dry, add a splash more water. Mix until the dough comes together and doesn’t cling to your hands. A quick test: press a small amount of dough between your fingers; it should hold shape without crumbling.
- Fold in the olive oil, then knead the dough on a lightly floured surface for about 2 minutes. The dough should become smooth and elastic, but still slightly tacky. Kneading ensures the starches are evenly distributed, which is essential for crispness. If the dough is too sticky, dust it lightly with more chickpea flour.
- Roll the dough to a thickness of about 1/8 inch (3 mm). This is the sweet spot for crunch; too thin and the chips will tear, too thick and they’ll stay chewy. Use a rolling pin or a pizza cutter to keep the thickness uniform. The dough should feel firm yet pliable.
- Cut the rolled dough into thin, even strips or use a pizza cutter to create squares. The uniformity ensures even baking and a consistent crunch. If you prefer a more rustic look, cut the dough into irregular shapes, but keep the thickness consistent.
- Place the cut pieces on the prepared baking sheet, spacing them slightly apart. The chips need room to expand as they bake. Bake for 18-22 minutes, turning halfway through, until the edges are golden and the chips crackle when you lift them. Keep an eye on the color; the first sign of browning means they’re ready.
- Remove the chips from the oven and let them cool on the sheet for 5 minutes before transferring them to a wire rack. This step allows the steam to escape, preventing sogginess. The chips will continue to crisp as they cool. Serve warm or let them cool completely for a crunchy snack later.
That's it — you did it. But hold on, I've got a few more tricks that'll take this to another level...
Insider Tricks for Flawless Results
The Temperature Rule Nobody Follows
Many bakers bake at the lowest possible temperature, but this recipe thrives at 375°F (190°C). The higher heat ensures a crisp exterior while keeping the interior light. If your oven runs hot, reduce the time by a minute or two; if it’s cooler, add a minute or two. This small adjustment can make the difference between crunchy and chewy.
Why Your Nose Knows Best
As the chips bake, the aroma changes from nutty to caramelized. Trust the smell; when you notice a slight sweet scent, it’s a sign the chips are near perfect. If the smell is too strong, they’re overbaked; if it’s faint, they need a few more minutes. Your nose is a reliable judge of doneness.
The 5‑Minute Rest That Changes Everything
After baking, let the chips rest on the sheet for five minutes before moving them. This brief pause allows the steam to escape, preventing sogginess. It also gives the chips a chance to firm up, ensuring they stay crisp when you bite into them.
Keep It Cool, Keep It Crispy
Once cooled, store the chips in an airtight container at room temperature. The airtight seal traps air, preventing moisture from seeping in. If you notice a loss of crispness, reheat them for a minute in a preheated oven at 300°F (150°C) to revive their crunch.
The Perfect Air Fryer Shortcut
If you’re short on time, an air fryer can produce the same crunch in just 10 minutes. Use a single layer and set the temperature to 350°F (175°C). Shake the basket halfway through to ensure even cooking. The air fryer is a great option for quick snack prep.
How to Layer Flavors Without Overpowering
Adding too much spice can mask the chickpea flavor. Start with the base spices, then taste the dough before baking. If you want more heat, sprinkle a light dusting of cayenne after baking. Layering flavors this way gives you control over the intensity.
Creative Twists and Variations
Smoky Chipotle Twist
Replace half of the salt with smoked paprika and add a teaspoon of chipotle powder. The result is a smoky, slightly spicy chip that pairs well with guacamole. This variation is perfect for taco nights or as a bold party snack.
Mediterranean Herb Burst
Stir in a tablespoon of dried oregano, thyme, and basil to the dry mix. The herbs give the chips a fragrant, herby profile that complements olives or feta. Serve with a lemon‑y tzatziki for a Mediterranean touch.
Sweet Cinnamon‑Honey Drizzle
After baking, drizzle a thin layer of honey and sprinkle cinnamon over the chips. The sweet glaze adds a surprising contrast to the savory base. This version works well as a dessert snack or a sweet breakfast treat.
Spicy Sriracha Kick
Fold in a tablespoon of sriracha into the dough before baking. The heat will linger, giving the chips a fiery edge. Pair them with a cool yogurt dip to balance the spice.
Classic Parmesan Finish
Sprinkle grated Parmesan cheese over the chips before the last five minutes of baking. The cheese melts into the edges, creating a savory, cheesy crust. This variation turns the chips into a pizza‑style snack.
Storing and Bringing It Back to Life
Fridge Storage
Store the cooled chips in an airtight container at room temperature for up to a week. The sealed environment prevents moisture from seeping in, keeping the chips crisp. If you notice slight softness, place a slice of bread in the container; the bread will absorb moisture.
Freezer Friendly
For longer storage, freeze the chips in a single layer on a baking sheet before transferring them to a freezer bag. They’ll stay crisp for up to three months. When ready to eat, let them thaw at room temperature for 15 minutes.
Best Reheating Method
Reheat frozen chips in a preheated oven at 350°F (175°C) for 8-10 minutes, or until they’re heated through and crisp again. Add a splash of water before reheating if the chips feel dry; the steam will revive their texture. Avoid microwaving, as it makes the chips chewy.