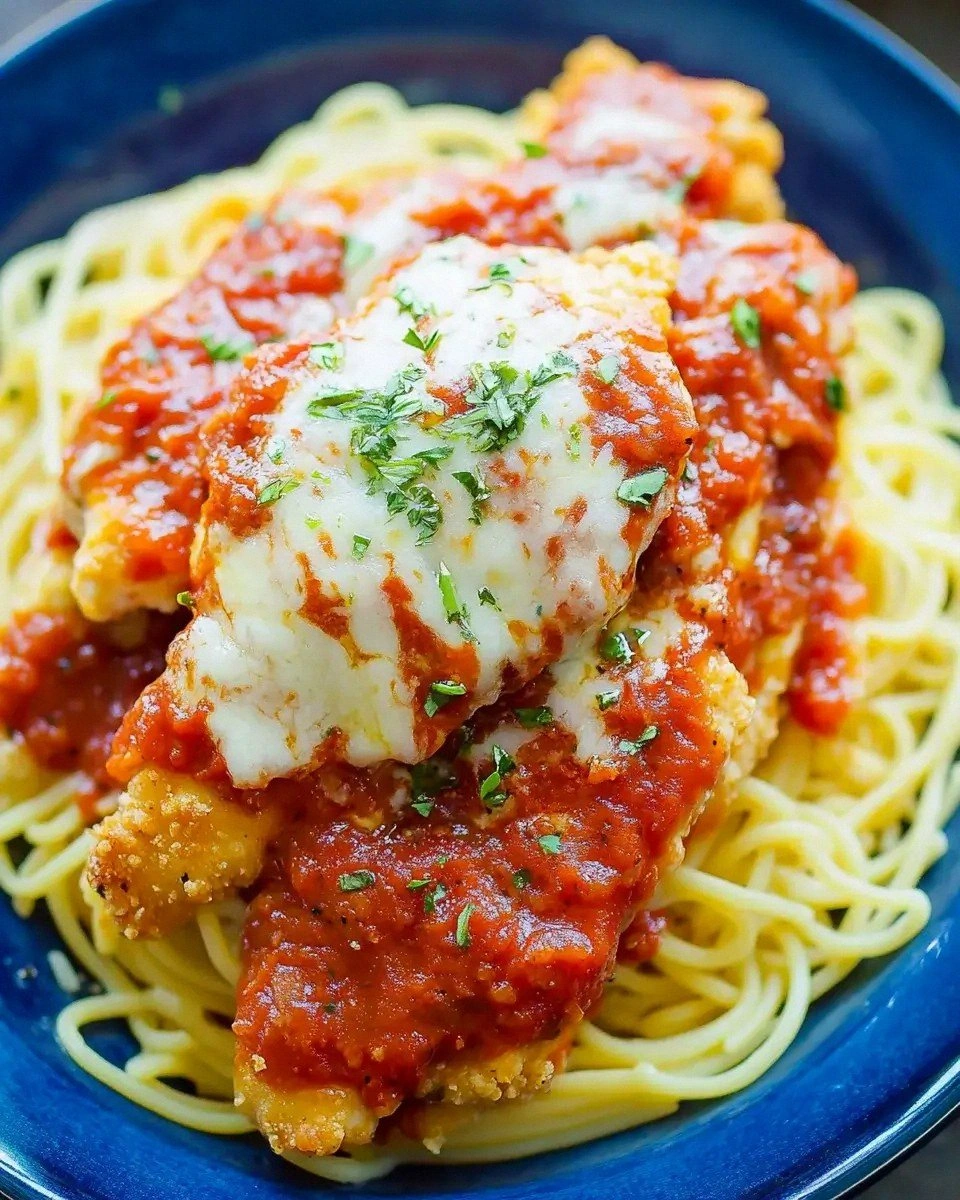
I was standing in my kitchen, half‑asleep, when the smoke alarm decided to join the morning chorus. A half‑baked lasagna had gone rogue, and in the chaos I promised myself I’d never trust a store‑bought Italian dinner again. That night, after a frantic search for a rescue plan, I grabbed two large chicken breasts, a jar of marinara, and a stubborn determination to create something that would make the smoke alarm apologize. The result? A Crispy Chicken Parmesan that turned my disaster into a triumph, and I’m daring you to taste this and not go back for seconds.
Picture the scene: the sizzling sound of butter and olive oil hitting a hot pan, the aroma of garlic and oregano swirling like a fragrant Italian opera, the golden crust forming on the chicken as if it were a tiny, edible sun. When the sauce finally meets the cheese, it spreads like velvet, hugging every crunchy bite, while the cheese melts into a bubbling, amber‑glow that could coax a smile from even the most stoic of grandmas. The first bite is a symphony—crunch, melt, tang, and a whisper of herbaceous perfume that makes the whole kitchen feel like a trattoria in Naples.
Most recipes get this completely wrong. They either drown the chicken in sauce, leaving it soggy, or they over‑bread it, making it a brick you need a sledgehammer to cut. This version stands out because it respects each component: a light flour dusting for a seal, a double‑dip in egg and panko for that signature crunch, and a brief, high‑heat sear that locks in juices before the oven finishes the job. I’ll be honest — I ate half the batch before anyone else got to try it, and that’s a testament to how addictive the texture is.
Okay, ready for the game‑changer? I’m about to reveal a secret ingredient that most home cooks overlook: a splash of heavy cream mixed into the marinara just before baking. It adds a silkiness that makes the sauce cling to the chicken like a lover’s embrace, without turning it into a soupy mess. Let me walk you through every single step — by the end, you’ll wonder how you ever made it any other way.
What Makes This Version Stand Out
- Crunch Factor: The panko‑and‑Parmesan coating creates a crust that shatters like thin ice, giving you that satisfying snap with every bite.
- Moisture Lock: A quick flour dusting followed by an egg wash seals the chicken’s juices, so the meat stays tender and juicy inside.
- Sauce Harmony: Adding a touch of cream to the marinara gives the sauce a luxurious body that clings without drowning the crunch.
- Cheese Pull: The combination of mozzarella and Parmesan creates a melt that stretches like a dream, delivering that gooey goodness everyone craves.
- Speedy Prep: All the steps can be done in under 30 minutes, making it perfect for weeknight dinners that feel like a special occasion.
- Versatile Crowd‑Pleaser: Whether you’re feeding picky kids or impressing foodie friends, this dish lands applause every single time.
- Ingredient Quality: Using fresh, high‑quality chicken breasts and real Parmesan elevates the entire dish from ordinary to unforgettable.
- Make‑Ahead Magic: You can prep the breaded chicken a day ahead, refrigerate, and bake when you’re ready, saving precious time.
Inside the Ingredient List
The Flavor Base
Marinara sauce is the heart of this dish, but not just any sauce will do. I use a simple blend of canned San Marzano tomatoes, minced garlic, a splash of heavy cream, and dried oregano. The cream is the secret that turns a standard tomato sauce into a velvety blanket, preventing it from soaking the crust. If you skip the cream, you’ll end up with a watery top that makes the panko soggy. For a richer flavor, simmer the sauce for at least 15 minutes; this deepens the aromatics and lets the garlic mellow into sweet notes.
The Texture Crew
Panko breadcrumbs are the unsung heroes here. Their airy structure creates a light, airy crunch that regular breadcrumbs can’t match. Mixing in grated Parmesan adds a salty, nutty depth that adheres the crumbs to the chicken. The flour dusting is not just for show—it creates a dry surface for the egg wash to cling, ensuring a uniform coating. If you’re gluten‑free, swap the all‑purpose flour for rice flour; it still provides the needed seal without compromising texture.
The Unexpected Star
Heavy cream may sound like a dessert ingredient, but a tablespoon or two folded into the marinara changes the game. It adds a buttery richness that makes the sauce cling like a second skin, while also balancing the acidity of the tomatoes. If you’re dairy‑free, try a splash of coconut cream; it adds a subtle tropical note that pairs surprisingly well with the herbs.
The Final Flourish
Fresh basil leaves for garnish bring a burst of bright, peppery freshness that cuts through the richness. A final drizzle of extra‑virgin olive oil right before serving adds a glossy sheen and a hint of fruitiness. And don’t forget a pinch of flaky sea salt on top; it amplifies every flavor, turning a good dish into a great one. If you’re feeling adventurous, a sprinkle of red‑pepper flakes can add a gentle heat that awakens the palate.
Everything's prepped? Good. Let's get into the real action…
The Method — Step by Step
Start by patting the chicken breasts dry with paper towels. Then, using a sharp knife, slice each breast horizontally to create two thinner cutlets, giving you four pieces total. Lightly season both sides with salt and pepper; this is your first flavor layer. That sizzle when it hits the pan? Absolute perfection. Let the seasoned chicken rest for five minutes while you prep the coating station.
Set up three shallow dishes: one with 1 cup of all‑purpose flour, the second with 2 beaten eggs, and the third with a mixture of 1 cup panko breadcrumbs and ½ cup grated Parmesan. Dredge each chicken piece in flour, shaking off excess, then dip into the egg, and finally press into the breadcrumb‑Parmesan blend. Make sure every nook is covered; this triple‑dip is the secret to that crunchy armor.
Kitchen Hack: After coating, place the chicken on a wire rack and let it sit for 10 minutes. This helps the coating adhere and prevents it from falling off during the sear.Heat a large skillet over medium‑high heat. Add 2 tablespoons olive oil and 2 tablespoons butter; the butter adds flavor while the oil raises the smoke point. When the butter foams and the oil shimmers, it’s time to add the chicken. Lay the pieces down without crowding the pan, and let them sear undisturbed for about 3‑4 minutes per side, or until the crust turns a deep golden‑brown.
While the chicken is searing, whisk together 2 cups marinara sauce with 2 tablespoons heavy cream, 1 teaspoon dried oregano, and the minced garlic. Simmer the sauce on low heat; this allows the flavors to meld and the cream to thicken slightly, creating that velvety texture that will coat the chicken later.
Once the chicken is beautifully browned, transfer the pieces to a baking sheet lined with parchment. Spoon a generous ladle of the creamy marinara over each cutlet, making sure the sauce reaches the edges but doesn’t drown the crust. Then sprinkle 1 cup shredded mozzarella evenly over the top, followed by a light dusting of extra Parmesan for extra bite.
Watch Out: If you add too much sauce, the crust will steam instead of stay crisp. Keep the sauce to a thin, even layer for the perfect balance.Preheat your oven to 425°F (220°C). Place the baking sheet in the middle rack and bake for 12‑15 minutes, or until the cheese is melted, bubbly, and just beginning to turn golden at the edges. The high heat finishes cooking the chicken through while giving the cheese that coveted caramelized top.
While the chicken bakes, you can prepare a quick garnish: tear a handful of fresh basil leaves and drizzle a tiny splash of extra‑virgin olive oil over them. This brightens the dish and adds a fresh, herbaceous pop that cuts through the richness.
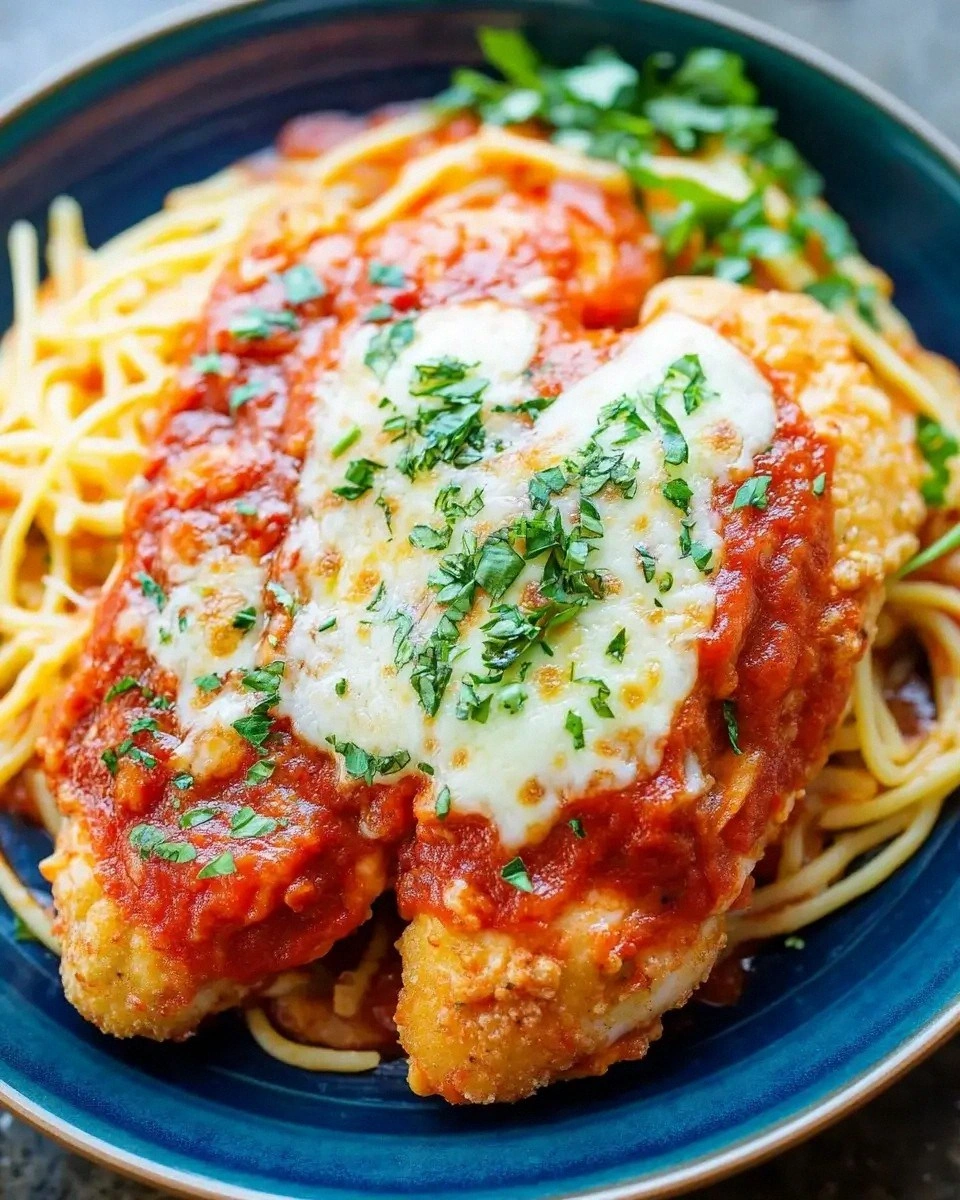
When the timer dings, remove the pan and let the chicken rest for 3‑4 minutes. This short rest lets the juices redistribute and the cheese settle, preventing a soggy plate. Then, serve each piece on a bed of pasta, a crisp green salad, or simply on its own with a side of garlic‑buttered bread.
And now the fun part: garnish with the basil, a pinch of flaky sea salt, and maybe a drizzle of balsamic reduction if you’re feeling fancy. Picture yourself pulling this out of the oven, the whole kitchen smelling incredible, and the first bite delivering that perfect crunch‑to‑melt ratio. This is hands down the best version you'll ever make at home.
That's it — you did it. But hold on, I've got a few more tricks that'll take this to another level…
Insider Tricks for Flawless Results
The Temperature Rule Nobody Follows
Never start with a cold pan. Let your skillet heat up for at least two minutes before adding oil and butter. This ensures the coating hits a surface hot enough to instantly set, creating that coveted crackle. I once tried to rush this step, and the crust turned soggy, like a wet sponge. Trust me, a few extra seconds make all the difference.
Why Your Nose Knows Best
Your sense of smell is the ultimate doneness gauge. When the chicken is searing, the aroma should shift from raw poultry to a nutty, toasted scent. If you smell butter burning, lower the heat immediately; burnt butter will give the crust a bitter edge that no amount of cheese can hide. This trick saved me countless batches of over‑cooked crust.
The 5‑Minute Rest That Changes Everything
After baking, let the chicken rest uncovered for five minutes. This short pause allows the juices to settle and the cheese to firm up just enough to slice cleanly. Skipping this step results in a slide‑off of the sauce and a soggy bottom. I used to dive right in, and the mess was a nightmare—now I’m a fan of the calm before the feast.
Double‑Dip for Double Crunch
If you crave an even crunchier crust, repeat the egg‑and‑panko dip a second time before the final sear. The extra layer creates a micro‑crust that shatters like delicate glass. A friend tried this once and called it “crunch heaven.” Just be mindful not to over‑bread; a thin, even coat is key.
Sauce Consistency Check
Your marinara should coat the back of a spoon but still be pourable. If it’s too thick, thin it with a splash of chicken broth; if too thin, simmer a few minutes longer to reduce. This balance ensures the sauce clings without drowning the crispy coating. I once added a whole can of broth by accident—turns out, a thin sauce can be rescued with a quick reduction.
Creative Twists and Variations
This recipe is a playground. Here are some of my favorite ways to switch things up:
Spicy Jalapeño Kick
Add finely chopped jalapeños to the breadcrumb mixture and sprinkle a pinch of cayenne into the marinara. The heat cuts through the richness, perfect for those who love a little fire. Serve with a cooling dollop of ranch or Greek yogurt.
Mediterranean Delight
Swap mozzarella for crumbled feta and add sun‑dried tomatoes to the sauce. The tangy feta and sweet tomato notes give the dish a breezy, coastal vibe. Garnish with olives and a drizzle of extra‑virgin olive oil for an authentic touch.
Pesto‑Infused Version
Stir a tablespoon of basil pesto into the marinara before baking. The herbaceous punch adds depth and a beautiful green hue. Top with toasted pine nuts for extra crunch.
Cheesy Bacon Bomb
Crumble cooked bacon into the breadcrumb mixture and increase mozzarella by a half cup. The smoky bacon threads weave through the cheese, creating a decadent, indulgent bite. Perfect for a weekend treat.
Gluten‑Free Glory
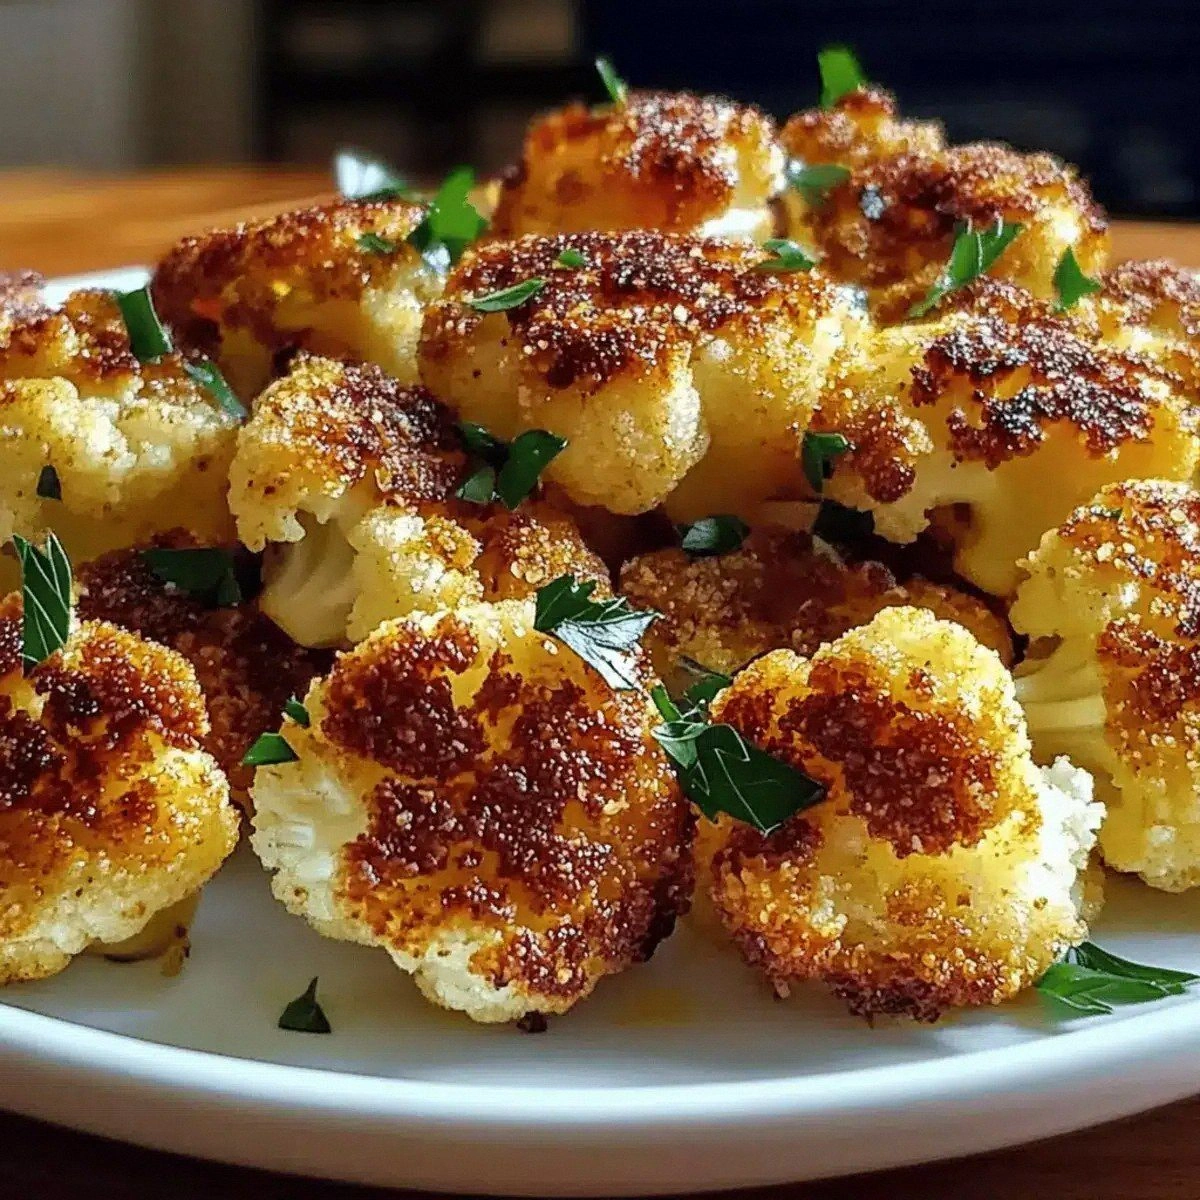
Replace the flour with almond flour and use gluten‑free panko crumbs. The texture stays crisp, and the almond flour adds a subtle nutty flavor. Pair with a side of roasted cauliflower for a low‑carb feast.
Storing and Bringing It Back to Life
Fridge Storage
Allow the chicken to cool completely, then place each piece in an airtight container. It will keep fresh for up to 3 days. When reheating, use a skillet over medium heat, adding a splash of water to the pan; cover for 2‑3 minutes to steam the crust back to crispness.
Freezer Friendly
Wrap each breaded, uncooked chicken cutlet tightly in plastic wrap, then place them in a freezer‑grade zip‑lock bag. They freeze well for up to 2 months. To cook from frozen, add an extra 5‑7 minutes to the baking time; the crust will still turn golden.
Best Reheating Method
For ultimate crispness, reheat in a preheated 400°F (200°C) oven for 8‑10 minutes, or until the cheese bubbles again. Adding a tiny splash of water to the bottom of the pan before covering helps steam the interior without sogging the exterior. This trick revives the dish as if it were freshly baked.