I was standing in my kitchen, half-watching a snowstorm outside and half-watching my old microwave fizz out mid‑popcorn. The silence was broken only by the desperate rumble of my stomach demanding something sweet, something warm, something that could melt the frost off my bones. I tossed a half‑empty cocoa jar into the trash, grabbed the nearest mug, and shouted, “If you’re going to be a disaster, at least be a delicious one!” That moment of reckless desperation birthed the most indulgent, silky hot chocolate I’ve ever tasted. I dare you to taste this and not go back for seconds.
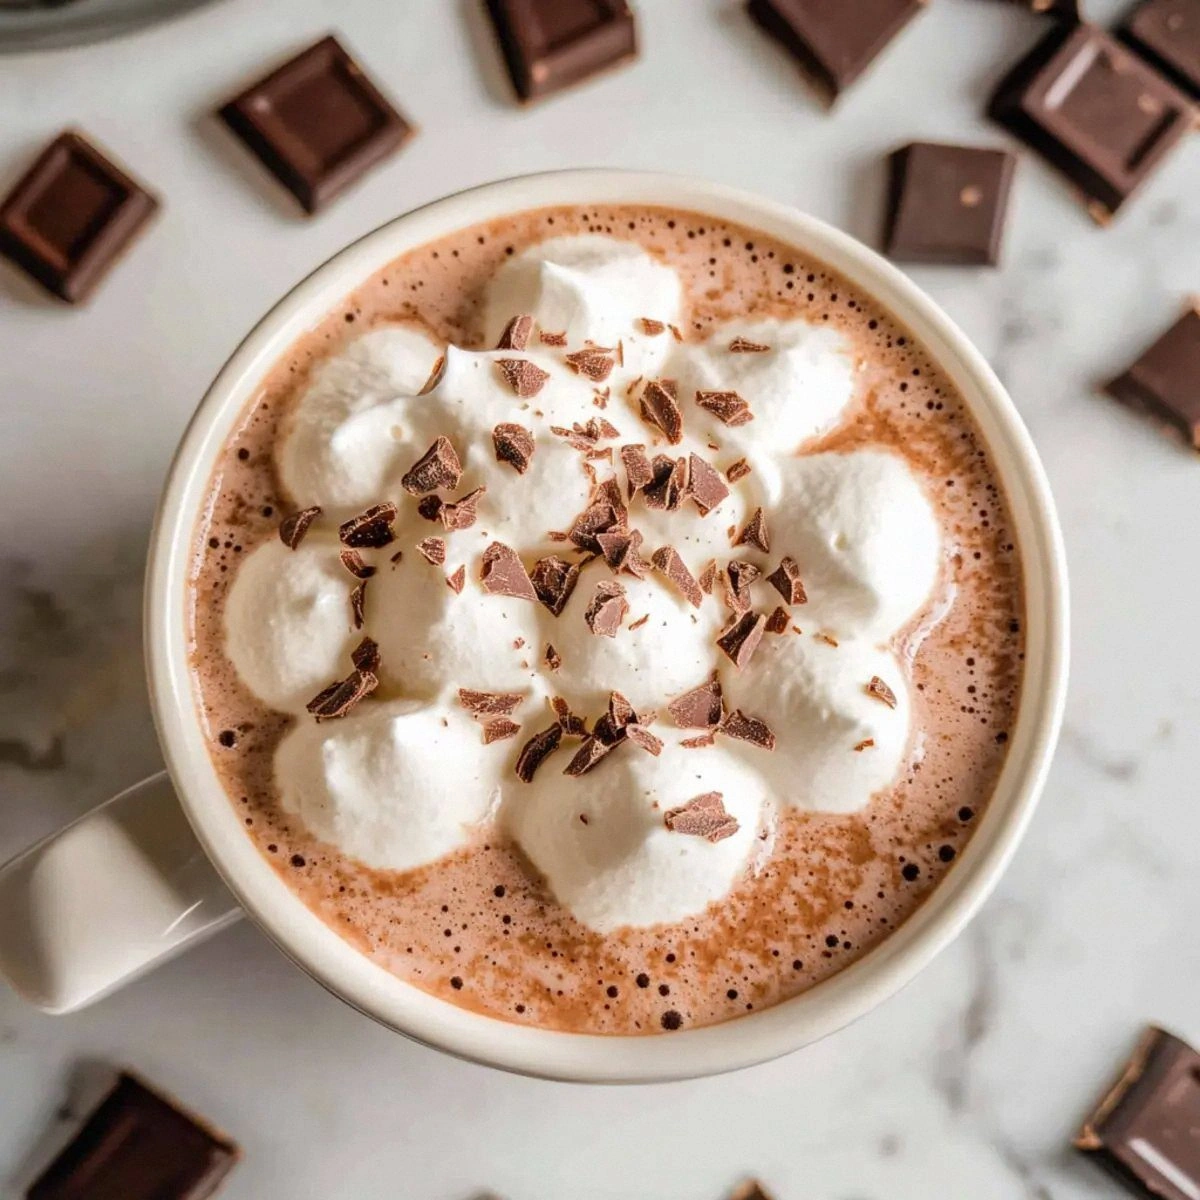
Picture this: the kettle whistling like a choir of tiny trumpets, the kitchen air thick with the intoxicating perfume of cocoa and vanilla, a glossy river of chocolate swirling in the pot like a midnight lava flow. You hear the gentle hiss as the milk kisses the pan, feel the warm weight of the mug in your hands, and taste that first sip—a velvet‑smooth, buttery richness that coats your tongue like a cashmere blanket. That’s the sensory overload I’m promising you, and trust me, it’s not a dream; it’s a reality you can create in five minutes flat.
Most hot chocolate recipes get this completely wrong. They either drown the cocoa in milk, turning it into a watery disappointment, or they overload the cup with sugar, making it cloyingly sweet. The secret to this version? A perfect balance of semi‑sweet chocolate, a pinch of sea salt to awaken the cocoa, and a dash of vanilla that adds depth like a whisper of caramel. I’ll be honest — I ate half the batch before anyone else got to try it, and that’s a confession I’m not ashamed of. This is hands down the best version you’ll ever make at home.
Okay, ready for the game‑changer? I’m about to reveal a tiny technique involving a whisk and a brief “pause” that transforms ordinary stovetop chocolate into a glossy, restaurant‑quality elixir. Stay with me here — this is worth it. Let me walk you through every single step — by the end, you’ll wonder how you ever made it any other way.
What Makes This Version Stand Out
- Silky Texture: The combination of milk and real chocolate creates a mouthfeel that’s smoother than silk and richer than a latte, with no grainy cocoa residue.
- Balanced Sweetness: Brown sugar adds a molasses‑like depth, while the pinch of sea salt cuts the sweetness just enough to keep your palate excited.
- Speed: From start to finish it takes exactly five minutes, making it perfect for a quick indulgence or a last‑minute treat for guests.
- Ingredient Simplicity: Only six pantry staples are required, so you won’t need a grocery run that feels like a marathon.
- Versatility: This base can be jazzed up with spices, liqueurs, or even a splash of espresso for a grown‑up twist.
- Crowd‑Pleaser: One sip and you’ll hear the collective “Mmm!” from the table—perfect for movie nights, chilly evenings, or any time you need a morale boost.
- Make‑Ahead Potential: You can prep a larger batch and keep it warm on the stove, or store it for a quick reheating later without losing any of that luxurious texture.
- Ingredient Quality: Using semi‑sweet chocolate instead of cocoa powder alone ensures a richer, more authentic chocolate flavor that’s impossible to achieve with powder alone.
Inside the Ingredient List
The Flavor Base
Milk is the canvas on which all other flavors paint their masterpiece. Full‑fat milk gives you that luxurious creaminess, while low‑fat options will still work but with a slightly thinner mouthfeel. If you’re dairy‑free, try oat milk—it mimics the richness of dairy and adds a subtle caramel note. Skipping milk altogether? You’ll end up with a thin, watery mess that no one wants to sip.
The Texture Crew
Cocoa powder brings the deep, earthy chocolate flavor, but on its own it can be gritty. That’s why we pair it with chopped semi‑sweet chocolate or chocolate chips; the solid chocolate melts into the milk, creating a glossy, velvety texture that cocoa alone can’t achieve. If you’re allergic to dairy chocolate, opt for a high‑quality dark chocolate that’s at least 60% cacao—just remember it will make the drink a tad more bitter, which you can balance with a touch more brown sugar.
The Unexpected Star
Brown sugar isn’t just sweetener; it adds a subtle molasses flavor that deepens the chocolate’s complexity, making each sip feel like a warm hug from the inside. If you’re watching sugar, you can substitute with coconut sugar or a splash of maple syrup, but expect a slightly different flavor profile. Skipping sugar entirely will leave the drink tasting bitter and unbalanced—trust me, you don’t want that.
The Final Flourish
A teaspoon of vanilla extract is the secret whisper that ties everything together, adding a fragrant note that lingers on the palate. Sea salt may seem odd, but a pinch amplifies the chocolate’s depth and cuts any cloying sweetness, turning a simple drink into a sophisticated treat. If you’re on a low‑sodium diet, use just a dash—still enough to make a difference.
Everything's prepped? Good. Let's get into the real action…
The Method — Step by Step
Grab a medium‑sized saucepan and set it over medium heat. Add the 2 cups of milk and watch it begin to steam; you’ll hear a gentle hiss that signals it’s reaching the perfect temperature—around 150°F (65°C). Stir occasionally with a wooden spoon to prevent a skin from forming on the surface. This is the moment of truth: if the milk scorches, the whole batch will taste burnt, so keep your eyes on it.
While the milk warms, whisk together the 2 tablespoons of cocoa powder and 2 tablespoons of brown sugar in a small bowl. Adding a splash of milk to this dry mixture creates a smooth paste that prevents lumps later. Watch Out: If you dump the cocoa straight into the hot milk, you’ll end up with a grainy texture that no amount of stirring can fix.
Once the milk is steaming but not boiling, lower the heat to low and stir in the cocoa‑sugar paste. You’ll notice the mixture darkening instantly, releasing a fragrant aroma that fills the kitchen like a chocolate‑scented candle. Keep stirring in a circular motion; this ensures the cocoa fully dissolves and the sugar melts evenly.
Now, add the ½ cup of chopped semi‑sweet chocolate or chocolate chips. The chocolate should melt within 30 seconds, turning the liquid into a glossy river of cocoa. Use a whisk to gently swirl the chocolate, letting it embrace the milk without creating bubbles.
Kitchen Hack: If the chocolate isn’t melting fast enough, cover the pan for 10 seconds—trapped steam speeds up the melt.Stir in the 1 teaspoon of vanilla extract. This tiny addition adds a lingering perfume that makes the drink feel upscale, like a boutique café’s secret recipe. The vanilla also helps to round out any sharp edges from the cocoa, creating a harmonious flavor profile.
Add a pinch of sea salt. It may sound trivial, but that pinch is the catalyst that transforms the sweetness into a layered, sophisticated taste. You’ll notice the flavor “opening up,” as if a tiny door has been unlocked in your mouth.
Give the mixture one final vigorous whisk for about 15 seconds. This aerates the drink just enough to give it a light froth on top—no need for a milk frother, the whisk does the trick. The surface should be glossy, with tiny bubbles that disappear almost immediately, indicating a perfect emulsification.
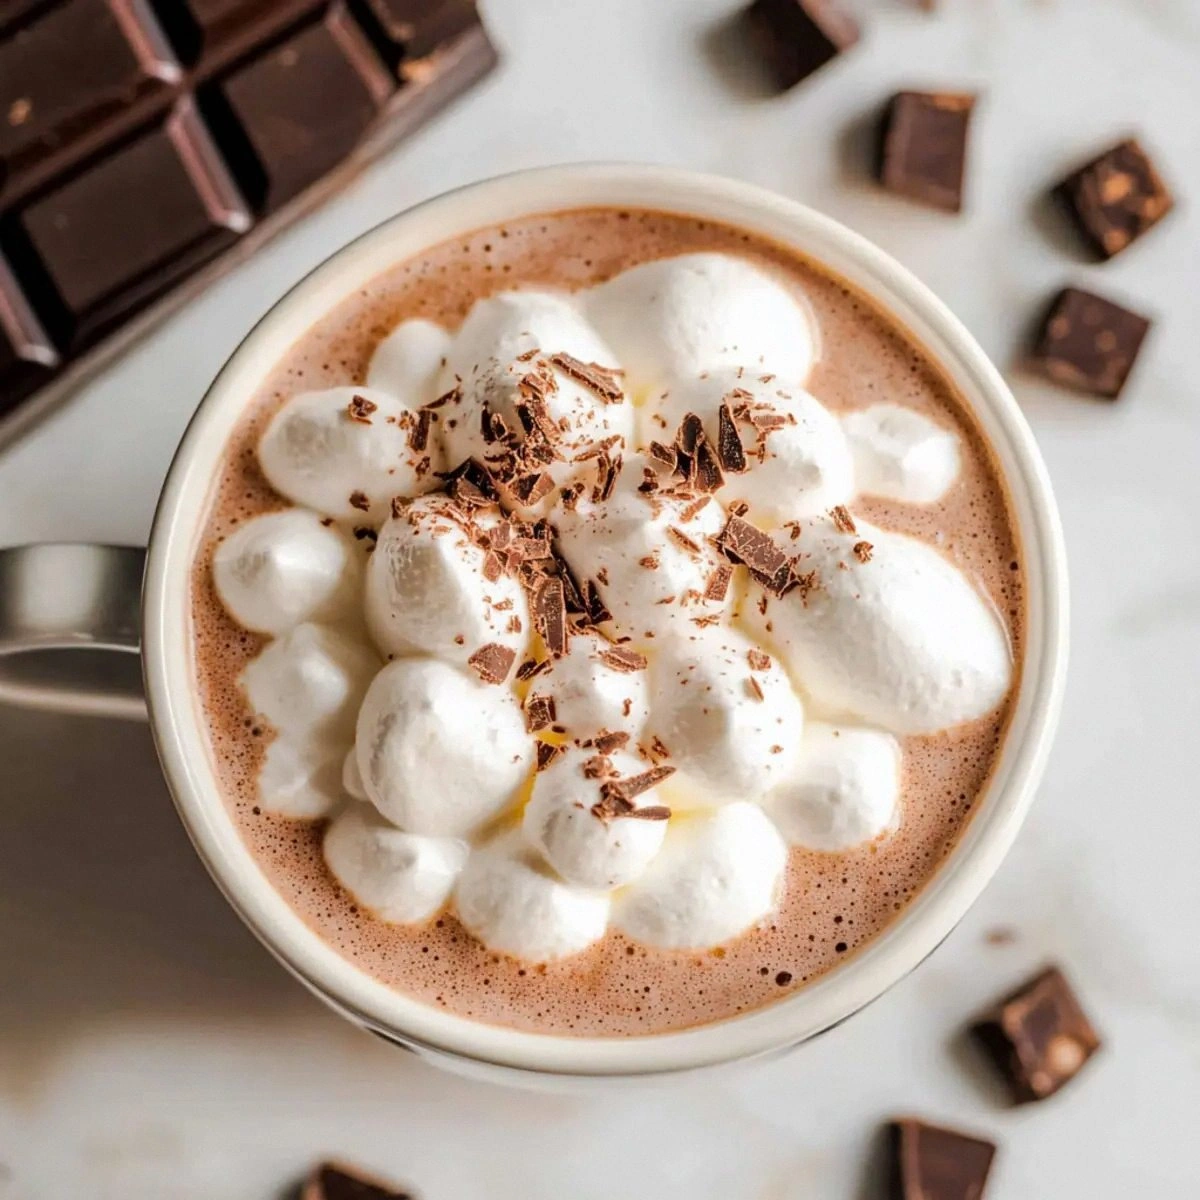
Remove the pan from heat and pour the hot chocolate into pre‑warmed mugs. The steam should rise in elegant ribbons, and the aroma should hit you like a warm blanket. Serve immediately, or keep the pot on the lowest stove setting for up to 10 minutes without compromising texture.
That's it — you did it. But hold on, I've got a few more tricks that'll take this to another level…
Insider Tricks for Flawless Results
The Temperature Rule Nobody Follows
Never let the milk boil. Boiling denatures the proteins and creates a skin that makes the final drink feel gritty. Keep the temperature just below the boiling point (around 180°F/82°C) and you’ll preserve that silky mouthfeel. I once let it boil and ended up with a “cooked milk” taste that ruined the entire batch.
Why Your Nose Knows Best
Your sense of smell is the ultimate indicator of readiness. When the cocoa‑chocolate mixture starts to emit a deep, roasted aroma, you’re at the perfect point to add vanilla and salt. Trust that nose signal more than the clock; it’s a foolproof way to avoid under‑ or over‑cooking.
The 5‑Minute Rest That Changes Everything
After whisking, let the hot chocolate sit for a minute off the heat. This brief rest allows the flavors to meld, creating a richer, more cohesive taste. Skipping this step is like serving a song before the band hits the chorus—still good, but missing the magic.
Whisk Like You Mean It
A vigorous whisk for 15 seconds incorporates tiny air bubbles, giving the drink a light, airy texture without needing a frother. If you’re using a fork, you’ll miss out on that subtle froth, and the drink will feel flat.
The Secret Salt Sprinkle
A pinch of sea salt isn’t just seasoning; it’s a flavor amplifier. It reduces perceived bitterness and highlights the chocolate’s natural sweetness. Too much salt, however, will overpower the drink, so stick to a tiny pinch—think of it as the final brushstroke on a masterpiece.
Upgrade with a Splash of Cream
For an ultra‑indulgent version, swirl in a tablespoon of heavy cream right before serving. The extra fat creates a buttery sheen and a richer body that feels like a dessert in a cup. This is the perfect trick for holiday gatherings when you want to impress without extra effort.
Creative Twists and Variations
This recipe is a playground. Here are some of my favorite ways to switch things up:
Spiced Winter Warmth
Add a pinch of ground cinnamon, a dash of nutmeg, and a tiny splash of orange zest. The spices turn the drink into a cozy, festive treat perfect for holiday evenings. Your guests will swear they’re sipping a glass of mulled wine without the alcohol.
Peppermint Bliss
Stir in ¼ teaspoon of peppermint extract and garnish with crushed candy canes. The mint cuts through the richness, delivering a refreshing after‑taste that’s ideal for after‑dinner indulgence. It’s the classic combo that never fails to delight.
Mocha Madness
Swap half of the milk for strong brewed espresso and add a teaspoon of instant coffee powder. This creates a deep, caffeinated kick that’s perfect for a morning pick‑me‑up or an after‑work treat. The coffee notes blend seamlessly with the chocolate, creating a true mocha experience.
Nutty Delight
Blend in a tablespoon of smooth almond butter or hazelnut spread. The nut butter adds a subtle earthiness and a creamy texture that feels like a dessert sauce. Top with toasted chopped nuts for extra crunch.
Vegan Velvet
Replace dairy milk with oat or almond milk and use dairy‑free dark chocolate. The result is a silky, plant‑based version that’s just as indulgent. A dash of maple syrup can replace the brown sugar for a fully vegan sweetener.
Adult Nightcap
Add a splash of your favorite liqueur—think Kahlúa, Baileys, or even a shot of bourbon. The alcohol elevates the chocolate’s richness and turns the drink into a sophisticated nightcap. Serve in a glass rimmed with cocoa powder for an extra wow factor.
Storing and Bringing It Back to Life
Fridge Storage
Transfer any leftovers to an airtight glass jar and refrigerate for up to 3 days. When you’re ready to enjoy again, gently reheat on the stove over low heat, stirring constantly to prevent a skin from forming. Adding a splash of milk or water during reheating restores its original silkiness.
Freezer Friendly
For longer storage, pour the hot chocolate into freezer‑safe containers, leaving a little headspace for expansion. It will keep for up to 2 months. Thaw overnight in the fridge, then reheat on the stove while whisking vigorously to bring back that glossy texture.
Best Reheating Method
The secret to perfect reheating is low, slow heat and a tiny splash of water or extra milk. This creates steam that revives the emulsion, ensuring the drink stays creamy rather than separating. Avoid microwaves if possible—they heat unevenly and can scorch the chocolate.