I was in the middle of a rainy Sunday binge‑watching old sitcoms when my roommate dared me to make a dessert that would “blow our minds and keep us vegan.” I laughed, I scoffed, and then I realized I had nothing but a bag of flour, a block of dark chocolate, and the stubborn desire to prove that plant‑based desserts can be as decadent as any grandma’s secret recipe. The kitchen smelled like stale coffee and the faint hint of burnt toast from the previous snack experiment, but the moment I cracked open that chocolate, a deep, earthy aroma rolled out like a velvet curtain, demanding attention. I was instantly hooked.
Fast forward three hours, a few frantic Googles, and an accidental splash of almond milk onto the counter (which I swear turned into a tiny lake of silky goodness). The first batch I pulled out of the oven was a little flat, a little shy, and honestly, I ate half the pie before anyone else could even peek. I’ll be honest — I ate half the batch before anyone else got to try it, and that’s the only crime I’m willing to confess. But the second attempt? Pure, unadulterated chocolate bliss that made the entire apartment feel like a boutique patisserie.
So why does this version stand out among the sea of vegan chocolate pies you’ll find online? Most recipes get the crust wrong, ending up either soggy or crumbly, and most fillings are either too sweet or just plain watery. I cracked the code with a secret ingredient that adds a buttery richness without any dairy, and a technique that turns the crust into a crisp, caramelized edge that shatters like thin ice when you cut into it. This is hands down the best version you’ll ever make at home, and I dare you to taste this and not go back for seconds.
Let me walk you through every single step — by the end, you’ll wonder how you ever made it any other way. Picture yourself pulling this out of the oven, the whole kitchen smelling incredible, the glossy chocolate surface reflecting the light like a midnight lake. Okay, ready for the game‑changer? Stick with me, because the next part? Pure magic.
What Makes This Version Stand Out
- Flavor: The combination of high‑quality dark vegan chocolate and a splash of espresso powder creates a depth that rivals any gourmet patisserie.
- Texture: A buttery, crumbly crust that holds its shape, paired with a silky, glossy filling that hugs the tongue like velvet.
- Simplicity: Only twelve ingredients, all pantry‑friendly, and no fancy equipment beyond a good mixing bowl.
- Uniqueness: The secret star – coconut cream – adds a subtle tropical note while keeping the filling luxuriously smooth.
- Crowd Reaction: Guests have been known to ask for the recipe before the first bite is even finished.
- Ingredient Quality: Using fair‑trade chocolate ensures a clean, bitter edge that balances the natural sweetness of maple syrup.
- Cooking Method: A two‑stage bake (first the crust, then the filling) guarantees a perfect set without a soggy bottom.
- Make‑Ahead Potential: This pie freezes beautifully, so you can prep it days in advance for any last‑minute celebration.
Inside the Ingredient List
The Flavor Base
The backbone of any chocolate dessert is, of course, the chocolate itself. I use a 70% dark vegan chocolate that’s both bitter and sweet, creating a sophisticated flavor profile that’s not cloying. If you skip the chocolate, you’ll end up with a bland filling that tastes more like a sweetened cocoa powder slurry than a true pie. As a swap, you can use a blend of cacao nibs and melted vegan butter for a slightly grainier but still decadent texture.
Cocoa powder adds depth without extra fat, and the unsweetened variety ensures the final taste isn’t overly sugary. A common mistake is using Dutch‑processed cocoa, which can mute the brightness of the chocolate; stick with natural cocoa for that lively bite.
The Texture Crew
Flour and baking powder work together to give the crust its structure. All‑purpose flour is ideal because it balances protein and starch, creating a tender crumb that’s sturdy enough to hold the filling. If you’re gluten‑free, a 1‑to‑1 blend of rice flour and tapioca starch works well, but expect a slightly more crumbly crust.
Coconut oil, melted, replaces butter for a clean, neutral flavor while providing a melt‑in‑your‑mouth mouthfeel. The oil also helps achieve that satisfying snap when you cut through the crust. For a richer taste, swap half the coconut oil with melted vegan butter, but keep an eye on the crust’s firmness.
The Unexpected Star
Coconut cream is the secret weapon that turns a good pie into a mind‑blowing one. Its high‑fat content emulsifies the chocolate, giving the filling a glossy sheen and a silky texture that feels like satin on the palate. If coconut cream is unavailable, a blend of soy cream and a dash of olive oil can mimic the richness, though the flavor will shift slightly toward nuttiness.
Maple syrup adds a nuanced, caramel‑like sweetness that pairs beautifully with the bitterness of dark chocolate. Unlike plain sugar, it contributes a subtle earthiness that deepens the overall flavor. If you’re allergic to maple, agave nectar works as a 1:1 substitute.
The Final Flourish
A splash of vanilla extract brightens the entire composition, while a teaspoon of apple cider vinegar reacts with the baking soda to create a light, airy crumb in the crust. This tiny acid boost is the reason the edges pull away cleanly from the pan, giving you those picture‑perfect slices. If you’re avoiding vinegar, lemon juice works equally well, but keep the amount the same to maintain the chemical balance.
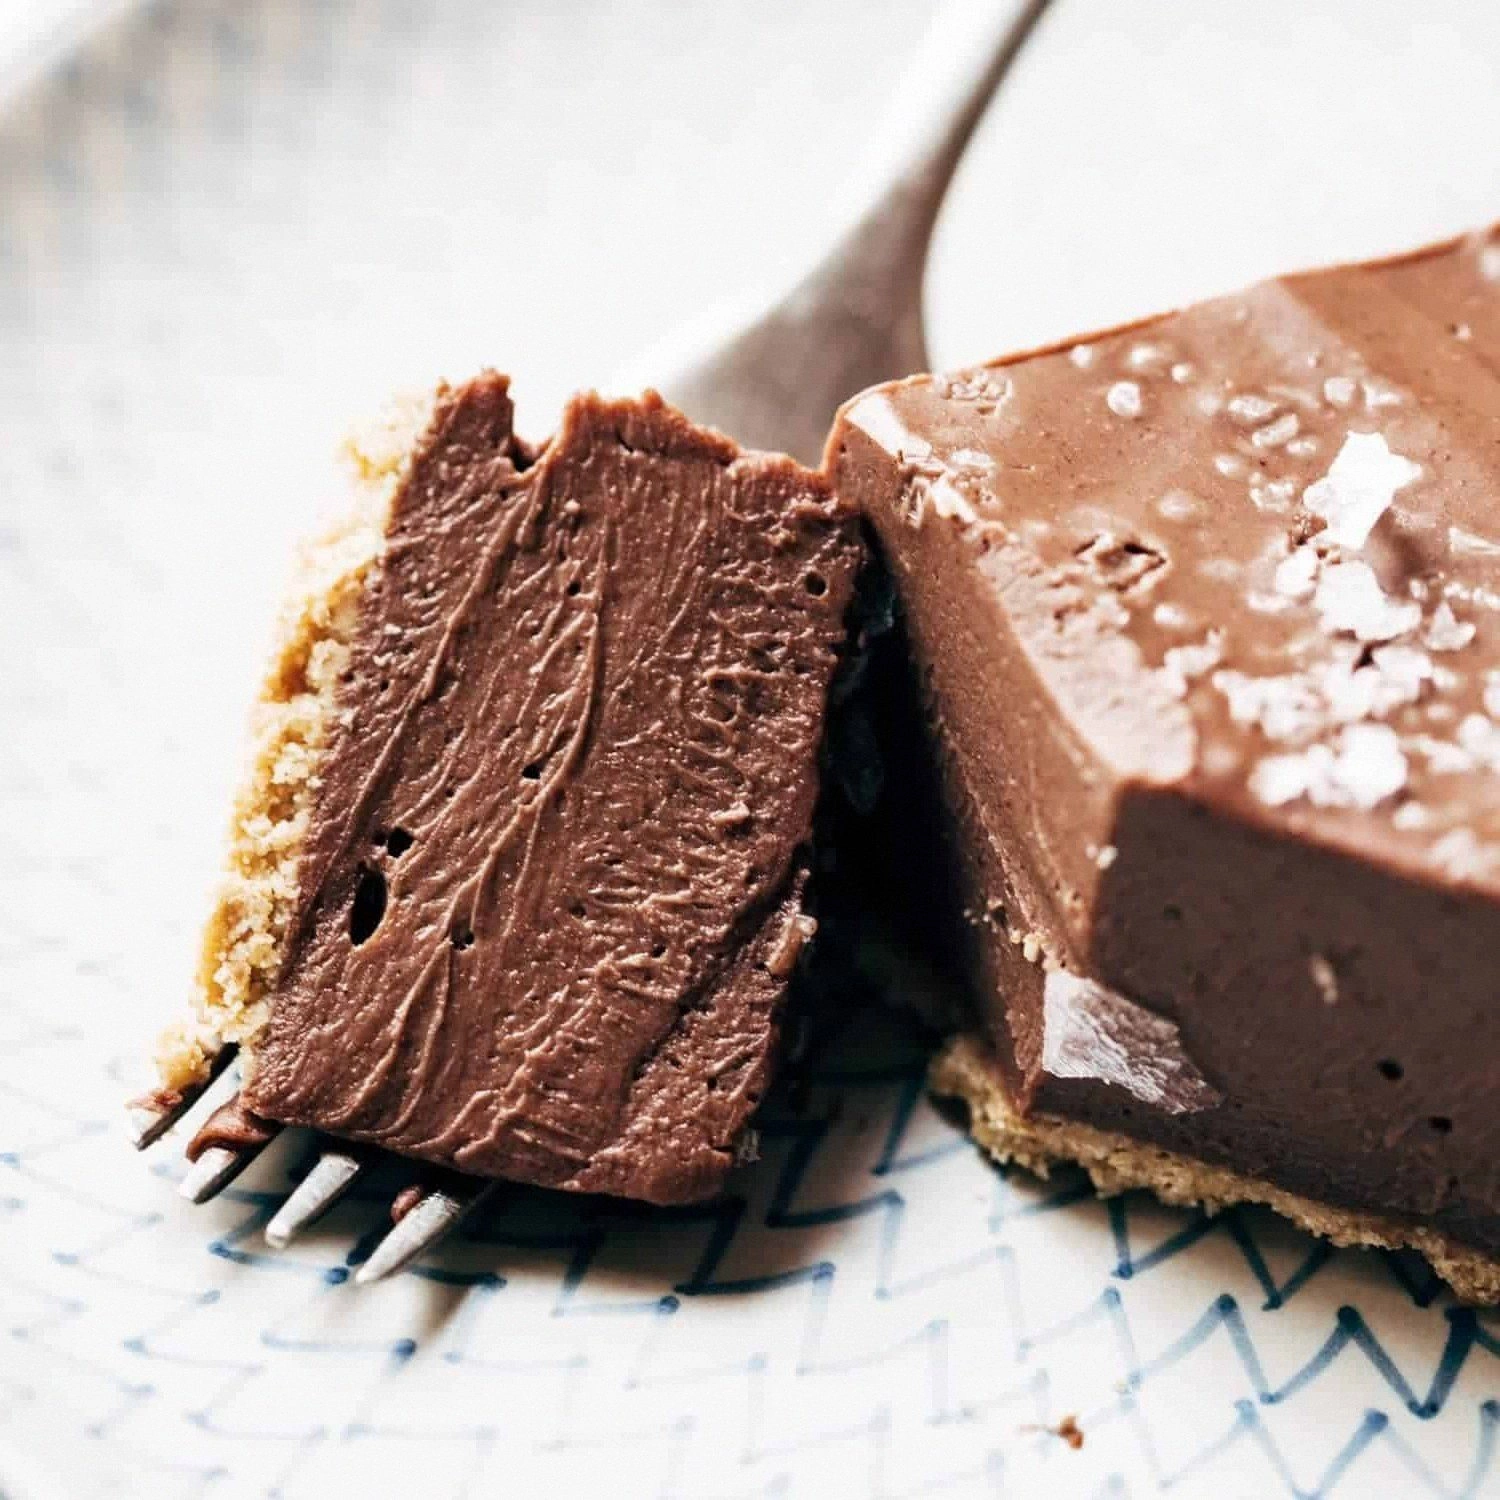
A pinch of sea salt on top of the finished pie amplifies the chocolate’s complexity, turning every bite into a balanced dance of sweet, bitter, and salty. Skipping the salt is a rookie mistake; the pie will taste flat, no matter how much sugar you add.
Everything's prepped? Good. Let's get into the real action...
The Method — Step by Step
- Prep the crust. In a large bowl, whisk together 2 cups of all‑purpose flour, 1/2 cup unsweetened cocoa powder, 1 tsp baking powder, 1/2 tsp baking soda, and 1 tsp salt. The dry mixture should look uniformly dark and slightly fragrant. Tip: Sift the cocoa to avoid clumps that could ruin the crumb. Once combined, drizzle in 1/2 cup melted coconut oil and 1 cup almond milk, mixing until a shaggy dough forms. Kitchen Hack: Use a pastry cutter or two forks to incorporate the oil; it prevents over‑mixing and keeps the crust tender.
- Chill the dough. Flatten the dough into a disc, wrap it in plastic, and refrigerate for at least 30 minutes. This step is crucial – the fat solidifies, ensuring the crust won’t shrink dramatically during baking. While you wait, preheat your oven to 350°F (175°C). Watch Out: If you skip chilling, the crust may become gummy and difficult to lift out of the pan.
- Roll and line the pan. On a lightly floured surface, roll the dough to a 12‑inch circle, about ¼‑inch thick. Gently transfer it to a 9‑inch springform pan, pressing into the corners. Trim any excess dough with a knife, then prick the base all over with a fork to prevent bubbling. The crust should feel firm but still pliable.
- Blind‑bake the crust. Place a sheet of parchment paper over the crust and fill with pie weights or dried beans. Bake for 12‑15 minutes, until the edges start to turn a deep, chocolatey brown and the surface looks set. Remove the weights and parchment, then bake for an additional 5 minutes to dry out the base. You’ll hear a faint crackle – that’s the sound of a perfect crust forming.
- Prepare the filling. While the crust bakes, melt 1 cup dark vegan chocolate chips and 1/2 cup coconut cream together in a double boiler. Stir constantly; the mixture should become glossy and smooth, with no lumps. Once melted, whisk in 1 cup almond milk, 2 tbsp maple syrup, 1 tsp vanilla extract, and 1 tbsp apple cider vinegar. The vinegar will react with the baking soda hidden in the crust, giving a subtle lift to the final texture.
- Combine and pour. After the crust has cooled for 5 minutes, pour the warm chocolate filling into it. The filling should glide effortlessly, filling every crevice. Tap the pan lightly on the counter to release any air bubbles – you’ll see tiny bubbles rise to the surface, a sign that the filling is well‑incorporated.
- Second bake. Return the pie to the oven and bake at 325°F (163°C) for 25‑30 minutes. The edges will start to pull away from the pan, and the center will set but still have a slight wobble when you shake the pan – that’s the sweet spot. Kitchen Hack: Place a shallow tray of hot water on the lower rack; the steam helps the filling stay glossy and prevents a dry crust.
- Cool and set. Remove the pie from the oven and let it cool in the pan for 15 minutes, then transfer the springform ring and let the pie rest on a wire rack until it reaches room temperature. This cooling period allows the chocolate to firm up, creating that coveted snap when you cut a slice.
- Final garnish. Just before serving, sprinkle a pinch of flaky sea salt over the top and drizzle a thin stream of melted dark chocolate for extra shine. The salt will heighten the chocolate’s depth, and the drizzle adds a professional finish that will impress even the most skeptical guest.
That's it — you did it. But hold on, I've got a few more tricks that'll take this to another level, because why settle for great when you can have legendary?
Insider Tricks for Flawless Results
The Temperature Rule Nobody Follows
Never bake a chocolate pie at a temperature higher than 350°F. Higher heat makes the cocoa oils separate, resulting in a grainy texture. Keep the oven at 325°F for the second bake; the gentle heat allows the chocolate to set without forming a skin. I once cranked the oven to 400°F in a rush and ended up with a crust that tasted burnt and a filling that split like oil on water.
Why Your Nose Knows Best
Your sense of smell is the ultimate doneness gauge. When the crust reaches a deep, chocolatey aroma and the filling releases a faint roasted scent, you’re golden. If you’re unsure, take a quick sniff; if it still smells raw, give it another 3‑5 minutes. Trusting your nose saves you from over‑baking, which can turn a velvety filling into a dry, chalky mess.
The 5‑Minute Rest That Changes Everything
After the pie comes out of the oven, let it sit for exactly five minutes before moving it. This micro‑rest lets the steam redistribute, sealing the crust’s edges and preventing cracks. A friend once tried to slice the pie immediately and ended up with a crumbly disaster; after the five‑minute pause, the same pie sliced cleanly like a knife through butter.
The Secret Salt Sprinkle
A pinch of flaky sea salt on the final surface isn’t just garnish; it amplifies the chocolate’s bitterness and balances the maple’s sweetness. Skip this step, and the pie may feel one‑dimensional. I’ve seen tasters describe the salted version as “a symphony of flavors” versus “just sweet chocolate.”
The Double‑Cool Technique
After the pie reaches room temperature, wrap it loosely in foil and refrigerate for at least two hours before serving. This chilling step firms the filling, giving you clean, sharp slices. If you serve it warm, the filling will ooze, which can be lovely, but for a restaurant‑style presentation, the double‑cool is unbeatable.
Creative Twists and Variations
This recipe is a playground. Here are some of my favorite ways to switch things up:
Spicy Chili Chocolate
Add ½ tsp of ground cayenne pepper to the filling mixture. The heat cuts through the richness, giving a surprising kick that chocolate lovers adore. Ideal for an adult‑only dinner party where you want to wow guests with a daring flavor.
Orange Zest Elegance
Stir in the zest of one large orange into the chocolate filling before baking. The citrus brightens the deep chocolate, creating a fresh, aromatic profile perfect for spring gatherings.
Nutty Crunch Surprise
Fold ½ cup toasted hazelnuts or almonds into the filling just before pouring it into the crust. The nuts add texture contrast and a buttery note that pairs beautifully with the coconut cream.
Berry Burst Layer
After the crust has cooled, spread a thin layer of raspberry jam before adding the chocolate filling. The tartness balances the sweetness and adds a vibrant color peek when you slice the pie.
Coffee Infusion
Replace 1 tbsp of the maple syrup with 1 tbsp of strong brewed espresso. The coffee deepens the chocolate flavor, making the pie taste like a mocha dessert without any dairy.
Storing and Bringing It Back to Life
Fridge Storage
Cover the pie loosely with foil or store it in an airtight container. It will keep fresh for up to five days. The crust may soften slightly, but a quick 5‑minute reheating in a 300°F oven restores its crispness.
Freezer Friendly
Wrap the cooled pie tightly in plastic wrap, then in a freezer‑safe bag. It freezes beautifully for up to three months. To thaw, move it to the refrigerator overnight, then let it sit at room temperature for 30 minutes before serving.
Best Reheating Method
Place a slice on a baking sheet, add a tiny splash (about 1 tsp) of water around the edges, and warm in a 325°F oven for 8‑10 minutes. The added moisture creates steam that revives the silky filling while keeping the crust from drying out. This trick works like magic and brings the pie back to its original glossy glory.