Picture this: a midnight craving, a pantry full of pantry staples, and a single, stubborn chicken breast that refuses to stay tender. I was in the middle of a frantic scramble, the kitchen lights flickering like a bad movie, when I remembered the humble jar of honey that sat on my counter. That moment, that spark of desperation, birthed the most glorious, sticky‑sweet, sesame‑slick chicken you’ll ever taste. I dared you to taste this and not go back for seconds; trust me, you’ll be begging for a second plate.
I was halfway through a video tutorial that promised “simple” and “quick,” yet the sauce it offered tasted like it had been simmered for a decade. I rolled my eyes, grabbed my skillet, and decided to rewrite the rulebook. I tossed in a splash of sesame oil that would give the dish a nutty aroma, a drizzle of honey that would caramelize, and a whisper of ginger that would cut through the sweetness. The result? A sauce that coats the chicken like velvet, with a subtle crunch from toasted sesame seeds that shatters like thin ice when you bite.
If you’ve ever struggled with a sauce that turns into a greasy mess, you’re not alone. I’ve watched friends’ attempts turn into sticky catastrophes, and I’ve tasted my own half‑baked batch that I ate before anyone else could even see the plate. That was the turning point. I realized that the secret was not in the ingredients alone, but in the technique, the timing, and the love poured into each step.
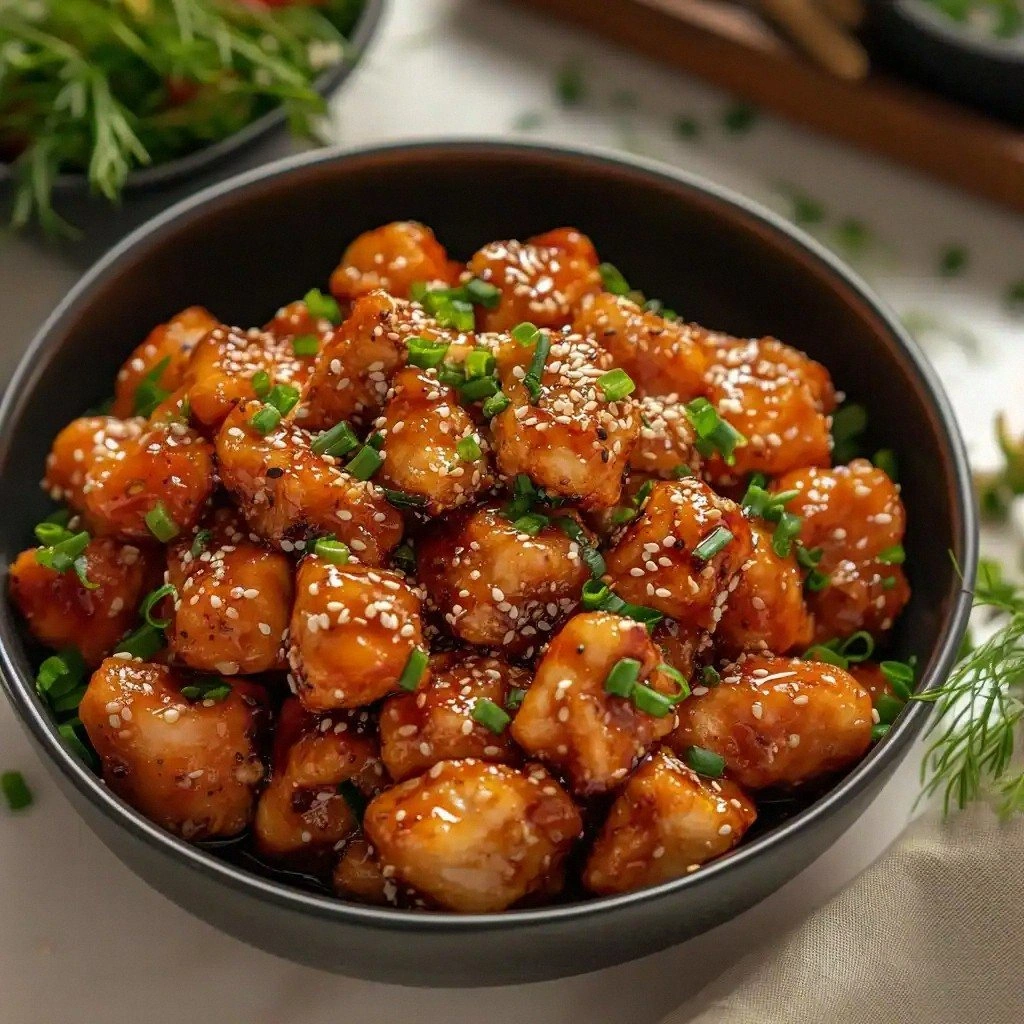
This isn’t just another take on honey sesame chicken. It’s a symphony of flavors that harmonizes sweet, savory, and a hint of heat. The crunch of sesame seeds, the silky glaze, the subtle zing of ginger, and the gentle heat of red pepper all work together to create a dish that feels like a gourmet experience while still being accessible to a beginner. Picture yourself pulling this out of the oven, the whole kitchen smelling incredible, and every bite delivering a burst of flavor that lingers on the tongue.
Most recipes get this completely wrong. They either overcook the chicken, under‑season the sauce, or forget the sesame seeds that give that final pop. I’ve spent hours tweaking this version to get the balance just right. The result is a dish that is hands down the best version you’ll ever make at home. The sauce is thick enough to cling to every bite, yet it’s glossy and sweet, not syrupy.
Okay, ready for the game‑changer? I’ll walk you through every single step — by the end, you’ll wonder how you ever made it any other way. This is a recipe you’ll want to keep in your kitchen drawer, because once you try it, you’ll never go back to the bland, generic versions again.
What Makes This Version Stand Out
- Taste: The sauce balances honey’s sweetness with soy’s umami, creating a flavor profile that feels both comforting and sophisticated.
- Texture: Crispy edges that shatter like thin ice meet a tender, juicy interior, offering a delightful contrast in every bite.
- Ingredient Quality: Using fresh ginger and high‑quality sesame oil elevates the dish beyond the ordinary, adding depth and aroma.
- Speed: From prep to plate, the entire process takes under 45 minutes, making it a perfect weeknight dinner.
- Crowd Reaction: Friends rave about the glaze, and kids love the sweet‑savory combo, making it a universal hit.
- Make‑ahead Potential: The sauce can be pre‑made and stored, allowing you to assemble the dish quickly on busy days.
Inside the Ingredient List
The Flavor Base
Honey is the star of the show, but it’s not just sweetness. When heated, it caramelizes, creating a glossy glaze that clings to the chicken like a second skin. If you skip honey, the dish loses that signature shine and becomes a plain, uninspired sauce. You can swap honey for maple syrup if you’re looking for a slightly different sweetness profile, but the texture will change.
Soy sauce provides the umami punch that balances the honey. It also adds a subtle depth that makes the dish feel more complex. A low‑sodium version works well if you’re watching your salt intake, but be prepared to taste and adjust. The soy sauce should be of good quality; a cheap brand will leave a metallic aftertaste.
Rice vinegar or apple cider vinegar adds acidity, cutting through the sweetness and preventing the sauce from becoming cloying. Without it, the glaze can feel heavy and syrupy. If you don’t have vinegar on hand, a splash of lemon juice will do the trick, though the flavor will shift slightly.
Sesame oil is the aromatic engine. It provides a nutty, toasted flavor that is unmistakable. If you’re allergic or simply don’t have sesame oil, you can use a light neutral oil, but the dish will lose that signature aroma.
The Texture Crew
Cornstarch is the unsung hero that gives the sauce that silky, slightly thickened consistency. It also helps the chicken develop a crisp exterior. Skipping cornstarch will leave the sauce thin and watery, and the chicken will be soggy.
Vegetable oil is the medium that allows the chicken to brown quickly. It has a high smoke point, preventing the oil from breaking down and producing off‑flavors. A light, neutral oil is best; avoid using butter or olive oil, which can alter the taste.
Sesame seeds add a subtle crunch and a nutty flavor that complements the sesame oil. Toast them lightly in a dry pan to bring out their aroma. If you’re allergic, you can omit them, but the dish will lose that satisfying bite.
The Unexpected Star
Fresh ginger is the secret sauce that cuts through the sweetness. It adds a bright, peppery note that elevates the dish from simple to sophisticated. If you’re out of fresh ginger, a teaspoon of ground ginger can work, but the flavor will be less vibrant.
Garlic brings depth and a savory undertone. Its aroma mingles with the honey, creating an irresistible scent that makes the dish almost impossible to resist. Mince it finely so it blends seamlessly into the sauce.
The Final Flourish
Green onions provide a fresh, crisp bite and a pop of color. They also add a mild onion flavor that balances the sweetness. Slice them thinly so they distribute evenly across the dish.
Crushed red pepper flakes add a gentle heat that keeps the dish from feeling too sweet. They also contribute a subtle smoky flavor. Use them sparingly; a pinch is enough to lift the overall profile.
Everything’s prepped? Good. Let’s get into the real action.
The Method — Step by Step
- Start by patting the chicken pieces dry with paper towels. This step is crucial; excess moisture will prevent the chicken from getting crispy. Season the chicken lightly with salt and pepper, then toss it in cornstarch until it’s evenly coated. The cornstarch creates a fine, crisp shell when fried.
- Heat 2 tablespoons of vegetable oil in a large skillet over medium‑high heat. Once the oil shimmers, add the chicken in a single layer, making sure not to overcrowd the pan. Let each side sear undisturbed for about 3 minutes, or until golden brown. Flip and repeat on the other side; the goal is a beautiful, caramelized crust.
- When the chicken is nearly cooked through, remove it from the skillet and set it aside on a plate. This prevents the chicken from overcooking while you make the sauce. Keep the pan hot; the residual heat will help the sauce thicken.
- In the same pan, reduce heat to medium. Add 2 cloves of minced garlic and 1 teaspoon of freshly grated ginger. Sauté until fragrant, about 30 seconds. The aroma should fill the kitchen and set the stage for the next steps.
- Pour in ¼ cup of honey, 3 tablespoons of soy sauce, and 1 tablespoon of rice vinegar. Stir to combine, scraping up any browned bits from the bottom of the pan. These bits are packed with flavor and will enrich the sauce.
- Add 1 tablespoon of sesame oil and 2 tablespoons of toasted sesame seeds to the mixture. The sesame oil gives the sauce a nutty aroma, while the seeds add crunch. Stir until the sauce thickens slightly, about 2 minutes.
- Return the chicken to the skillet, tossing it in the sauce so every piece is coated. Cook for an additional 2 minutes, allowing the sauce to cling to the chicken. The edges should start pulling away, signaling that the chicken is perfectly cooked.
- Add a pinch of crushed red pepper flakes to give the dish a gentle heat. This step is optional but recommended for those who enjoy a subtle kick. Stir again to distribute the flakes evenly.
- Finish by sprinkling sliced green onions over the top. The green onions provide a fresh, crisp contrast to the sweet glaze. Let the dish rest for a minute before serving, allowing the flavors to meld.
- Serve immediately over steamed rice or quinoa, or toss with sautéed broccoli for a balanced meal. The dish is best enjoyed fresh, when the glaze is still glossy and the sesame seeds are crunchy.
That's it — you did it. But hold on, I've got a few more tricks that'll take this to another level.
Insider Tricks for Flawless Results
The Temperature Rule Nobody Follows
Many people think that cooking chicken at high heat will give them a crispy exterior, but if you’re not careful, the outside can burn while the inside remains raw. The trick is to start at medium‑high to get a good sear, then reduce to medium to finish cooking. This ensures even cooking and a juicy interior. I’ve seen countless videos where the chicken turns out rubbery; avoid that by controlling the heat.
Why Your Nose Knows Best
Before you add the honey, give the sauce a quick sniff. If it smells slightly burnt, pull it off the heat immediately. The aroma is a reliable indicator of the sauce’s health. A sweet, caramel scent means it’s on the right track. Trust your nose; it’s the best chef you have.
The 5-Minute Rest That Changes Everything
After you finish cooking, let the chicken rest for five minutes on a warm plate. This allows the juices to redistribute, keeping the meat moist. It also gives the glaze a chance to thicken slightly, making each bite even more luscious. Don’t rush; patience is key.
Use Fresh Garlic Over Powder
Fresh garlic gives a bright, sharp flavor that powder can’t match. Mince it finely so it blends into the sauce, delivering a subtle bite. If you’re short on time, a small amount of garlic paste works, but the taste will be muted. I’ve found that fresh garlic elevates the dish from good to unforgettable.
Toast Sesame Seeds for Extra Crunch
Toasted seeds add depth and a nutty aroma that complements the sesame oil. Toast them in a dry skillet over medium heat until they’re golden and fragrant. If you skip this step, the seeds will taste raw and the dish will feel flat. I always keep a small bowl of toasted seeds on hand for quick additions.
Creative Twists and Variations
This recipe is a playground. Here are some of my favorite ways to switch things up:
Asian Fusion Wraps
Wrap the chicken in a soft tortilla with shredded lettuce, sliced cucumber, and a drizzle of peanut sauce. The crunch of the lettuce pairs nicely with the sweet glaze, creating a portable, crowd‑pleasing snack. Perfect for picnics or quick lunches.
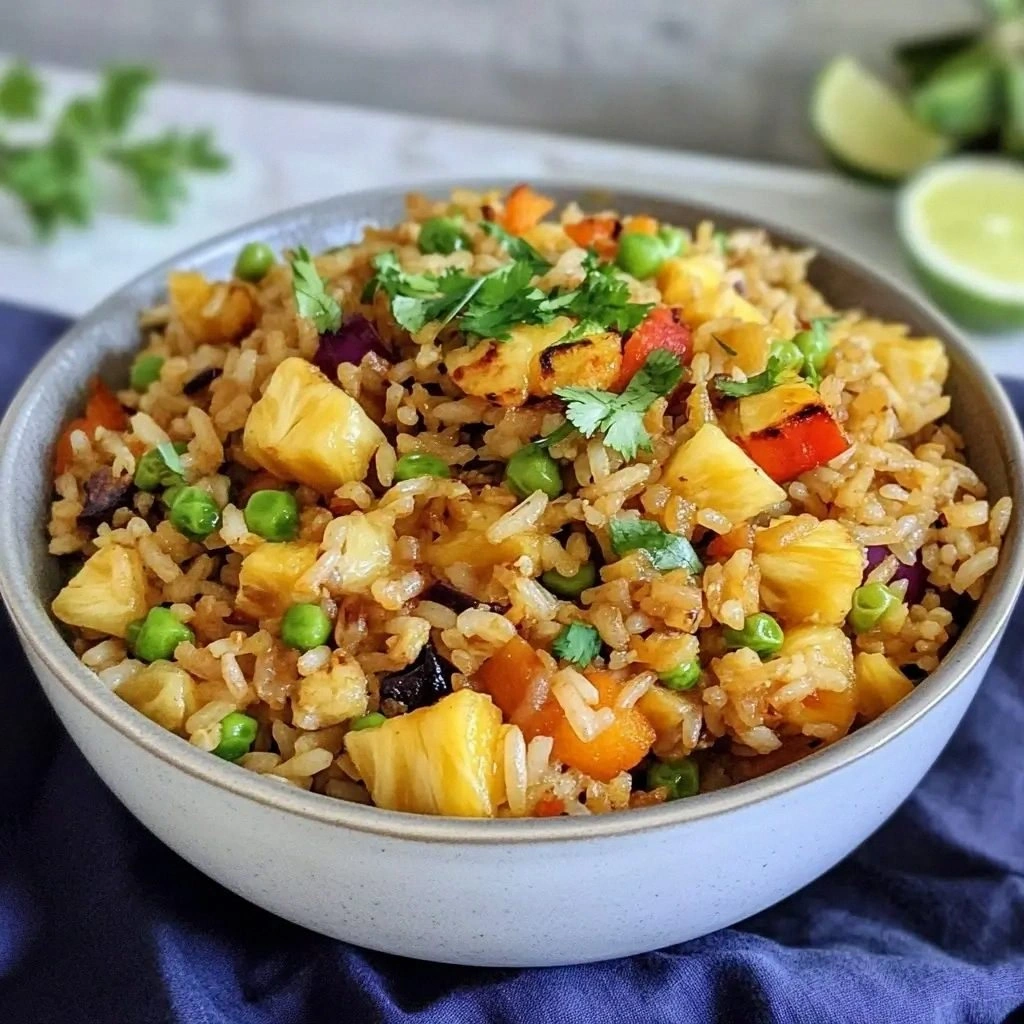
Spicy Pineapple Kick
Add chunks of fresh pineapple during the sauce stage for a tropical twist. The fruit’s acidity balances the sweetness and adds a juicy burst. It’s a great way to bring a bit of the Caribbean to your dinner table.
Vegetarian Version
Replace the chicken with tofu cubes, lightly pan‑fried until golden. The tofu absorbs the glaze beautifully, offering a plant‑based alternative that still delivers the same savory, sweet experience. It’s a quick, protein‑rich option for vegetarians.
Gluten‑Free Alternative
Use tamari instead of soy sauce to keep the dish gluten‑free. The flavor is similar, though slightly less salty. This tweak makes the dish safe for those with celiac disease without compromising taste.
Herb‑Infused Variation
Stir in a handful of fresh basil or cilantro just before serving. The herbs add a fresh, aromatic layer that brightens the dish. It’s especially good if you’re serving the chicken over rice.
Low‑Carb Option
Serve the chicken over cauliflower rice instead of regular rice to keep the carb count low. The cauliflower absorbs the glaze and adds a mild, nutty flavor. It’s a great option for keto or low‑carb diets.
Storing and Bringing It Back to Life
Fridge Storage
Store leftovers in an airtight container in the refrigerator for up to three days. The sauce will thicken slightly, so add a splash of water or broth before reheating to restore its glossy texture. Keep the chicken separate from the sauce if you prefer to re‑warm them separately.
Freezer Friendly
Freeze the cooked chicken and sauce separately in freezer‑safe containers for up to two months. When ready to serve, thaw overnight in the refrigerator and reheat on the stove with a splash of water. This method preserves the flavor and prevents the sauce from becoming too thick.
Best Reheating Method
Reheat the dish in a skillet over medium heat, stirring frequently until heated through. Adding a teaspoon of water or broth helps the sauce stay silky. Avoid microwaving, as it can make the chicken rubbery and the sauce clumpy.