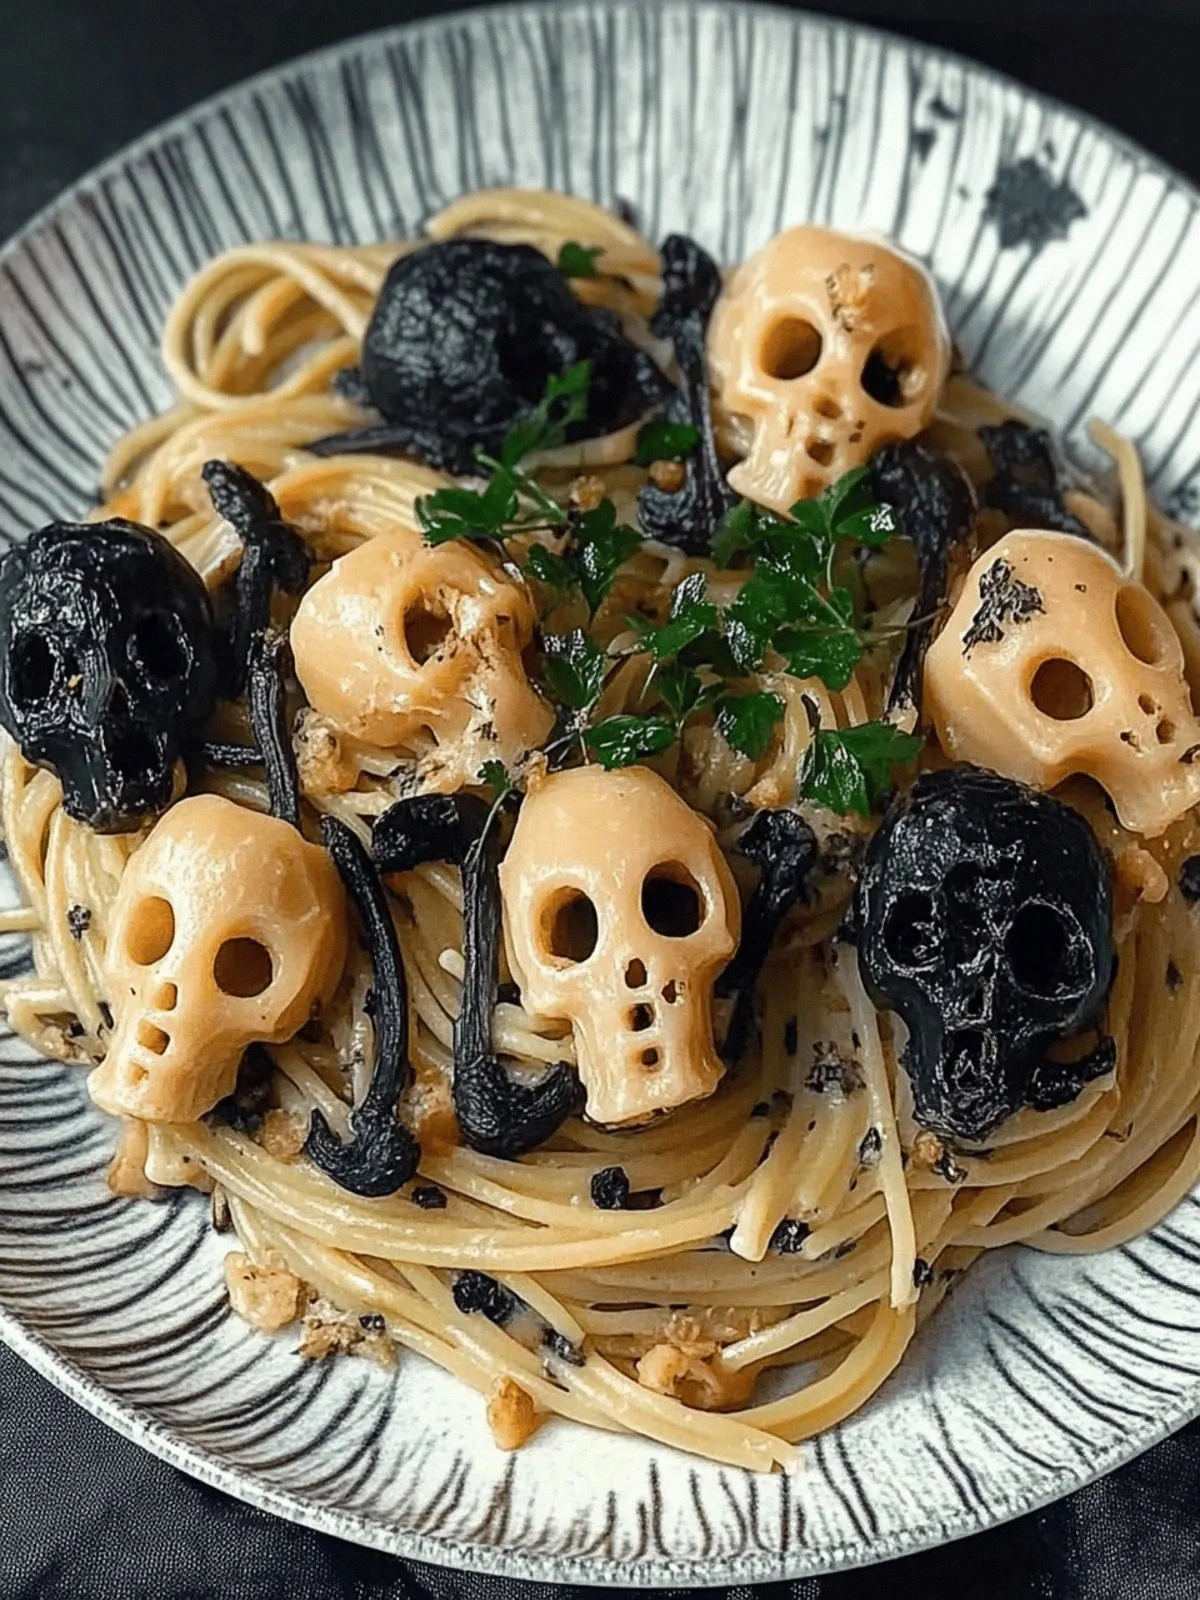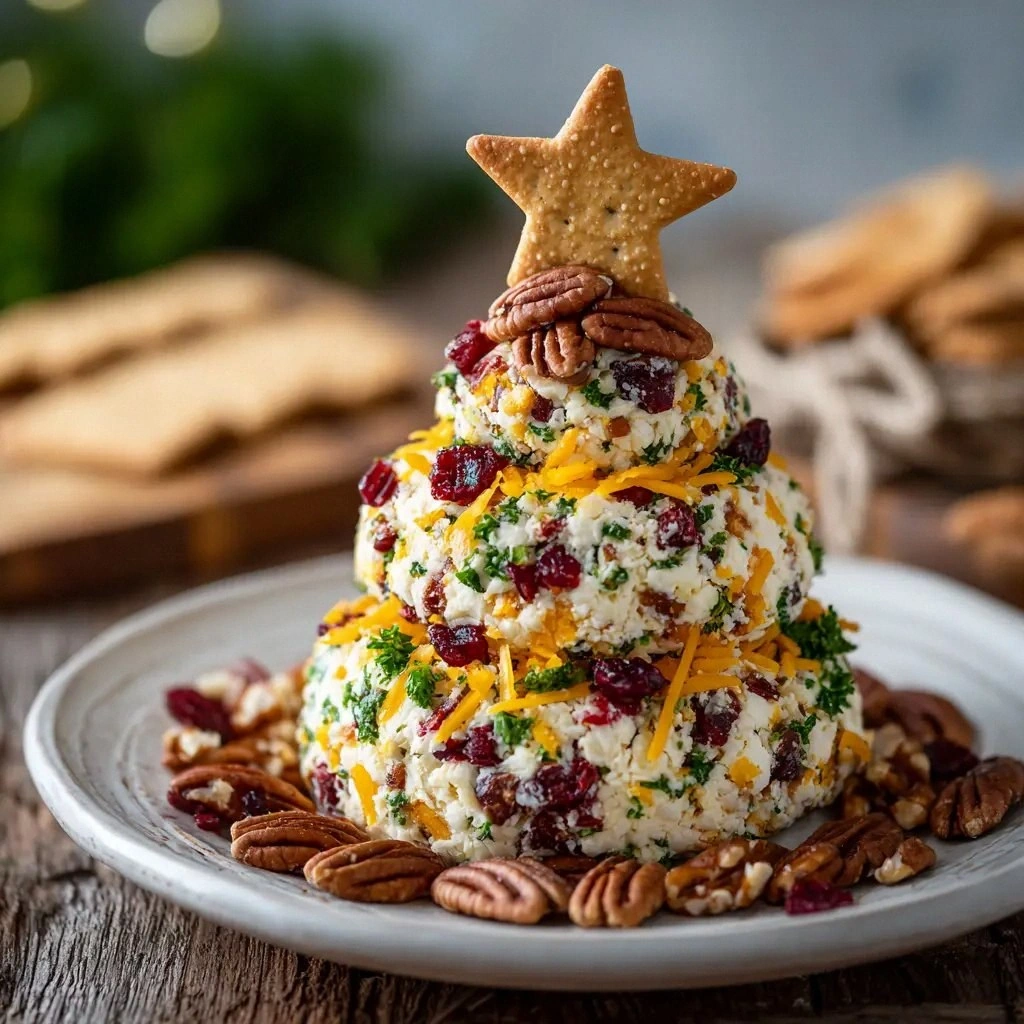
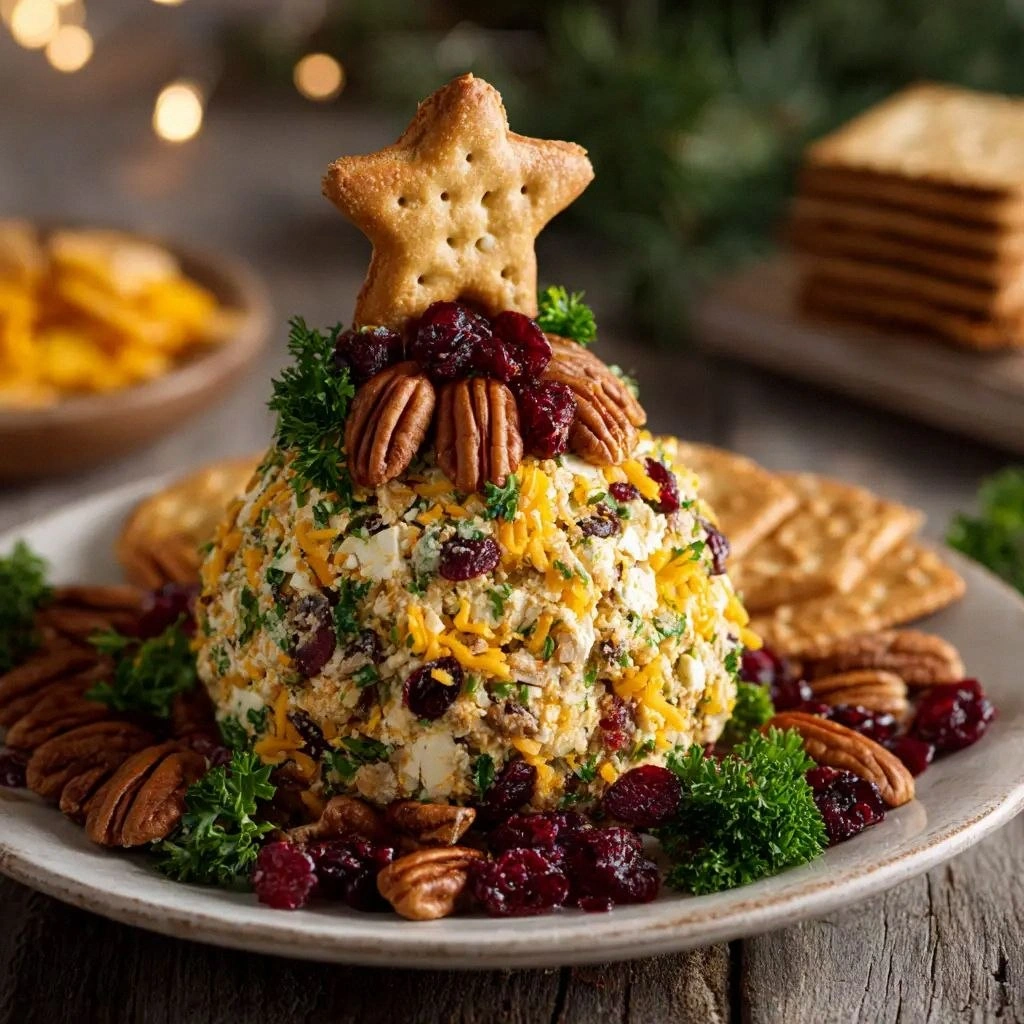
Picture this: the kitchen is a whirlwind of flour dust and the faint scent of melted cheese drifting through the air, and you’re staring at a half‑baked pizza that has somehow turned into a culinary nightmare. I had a friend who dared me to whip up a holiday appetizer that would make everyone gasp, and I answered with a plan that would turn the chaos into a triumph. The result? A Cranberry Pecan Cheese Ball that feels like a holiday hug in every bite, with a hint of citrus that lifts the heaviness of dairy into a light, celebratory dance. The moment the first slice hits your tongue, the tangy cranberries burst, the pecans crackle, and the sharp cheddar melts like silk.
I’ve spent countless evenings juggling recipes and the endless quest for the perfect balance of flavors, and this one is a revelation. The combination of creamy cheese, crunchy pecans, and tart cranberries creates a symphony of textures that makes each bite an adventure. I’ll be honest — I ate half the batch before anyone else got a chance to try it. That’s the kind of confidence I bring to this post: I know this is hands down the best version you'll ever make at home. If you've ever struggled with a cheese ball that turns out too dry or too soggy, you’re not alone — and I’ve got the fix.
What makes this version stand out is not just the ingredients, but the technique. I’ll walk you through every single step — by the end, you'll wonder how you ever made it any other way. From the moment you start chopping the green onions to the last swirl of orange zest, every action is designed to amplify flavor and texture. This isn’t a recipe; it’s a ritual that transforms ordinary pantry staples into a showstopper. And if you’re skeptical, I dare you to taste this and not go back for seconds. The anticipation will keep you coming back for more.
Imagine a cheese ball that glows with golden edges, the kind that shatters like thin ice when you bite into it, revealing pockets of molten cheddar and bursts of sweet cranberries. Picture the aroma of toasted pecans wafting through the kitchen, mingling with the sharpness of cheddar and the bright citrus of orange zest. This is the sensory journey I’ve crafted for you. And the best part? It’s all achievable with pantry staples, no fancy equipment required. Let’s dive into the details, because the magic starts here.
What Makes This Version Stand Out
- Taste: The marriage of sweet cranberries and zesty orange zest cuts through the richness, creating a balanced flavor profile that’s both comforting and exciting.
- Texture: The pecans add a satisfying crunch that contrasts the creamy interior, while the cheese stays silky, not gritty.
- Simplicity: Only nine ingredients, all of which you likely already have at home; no complicated sauces or exotic spices.
- Uniqueness: The addition of orange zest gives it a fresh lift, a twist that sets it apart from classic cheese ball recipes.
- Crowd Reaction: Guests rave about the burst of flavor and the easy-to-serve shape; it’s a conversation starter at any gathering.
- Ingredient Quality: Using sharp cheddar and real cranberries ensures depth of flavor that store‑bought mixes can’t match.
- Cooking Method: A quick bake seals in moisture, while the final chill sets the perfect bite.
- Make‑Ahead Potential: Build it a day ahead, refrigerate, and it stays fresh for 48 hours, making it ideal for holiday parties.
Inside the Ingredient List
The Creamy Core
Cream cheese is the heart of this ball, providing a velvety texture that holds the other ingredients together. I use a full‑fat 16 oz block, which translates to two cups when softened; it gives a richer mouthfeel compared to low‑fat varieties. If you prefer a tangier base, swap in Greek yogurt for half the cream cheese, but be prepared for a slightly looser consistency that may require additional binding.
The Crunchy Crew
Pecans add that delightful crunch that shatters like thin ice when you bite. I roast them lightly at 350°F for 8 minutes to bring out their natural oils; this step is optional but recommended. If you’re allergic or simply don’t have pecans, walnuts or almonds work as substitutes, though the flavor profile will shift slightly toward nutty or earthy tones.
The Tangy Touch
Dried cranberries provide a sweet, tart counterpoint to the savory cheese. I soak them in warm water for 10 minutes to plump them up before adding, which prevents them from drying out during baking. A pinch of salt enhances their natural sweetness, but be cautious if you’re on a low‑sodium diet.
The Final Flourish
Green onions lend a subtle sharpness that balances the richness, while garlic and onion powders deepen the savory base. Orange zest is the secret weapon here; it cuts through the dairy with a bright, citrusy lift that keeps the dish from feeling heavy. If you’re a fan of extra heat, a pinch of cayenne or smoked paprika can add a smoky kick.
Everything's prepped? Good. Let's get into the real action...
The Method — Step by Step
- Preheat your oven to 350°F (175°C). Line a baking sheet with parchment paper or a silicone mat. This step ensures a clean surface and prevents sticking, making removal a breeze.
- In a large bowl, combine the softened cream cheese and shredded sharp cheddar. Use a handheld mixer on low speed until the mixture is smooth and the cheddar is fully incorporated. The goal is a uniform, creamy base that’s free of lumps.
- Fold in the soaked cranberries, roasted pecans, and finely chopped green onions. Mix gently with a spoon to distribute the ingredients evenly without crushing the cranberries.
- Add the garlic powder, onion powder, salt, and orange zest. Stir until everything is evenly coated, then taste and adjust the seasoning if needed. The orange zest should be evident but not overpowering.
- Transfer the mixture onto the prepared baking sheet and shape it into a round loaf, about 4 inches tall. The loaf should be firm enough to hold its shape during baking.
- Bake for 20 minutes, or until the edges are golden and the center is set. The cheese should still feel slightly soft in the middle, indicating it's perfectly creamy inside.
- Remove from the oven and let the loaf cool for 10 minutes on a wire rack. This cooling period allows the flavors to settle and the surface to firm up, making it easier to cut.
- Once cooled, wrap the loaf tightly in plastic wrap and refrigerate for at least 2 hours, preferably overnight. Chilling helps the cheese ball maintain its shape and enhances the melding of flavors.
- When ready to serve, unwrap the cheese ball and slice into 1/2-inch thick pieces. Serve with crackers, toasted baguette slices, or fresh veggies for dipping.
- If you’re plating for a crowd, arrange the slices on a platter with a drizzle of olive oil and a sprinkle of fresh herbs for an extra touch of elegance.
That's it — you did it. But hold on, I've got a few more tricks that'll take this to another level...
Insider Tricks for Flawless Results
The Temperature Rule Nobody Follows
Many people bake cheese balls at 375°F, assuming higher heat yields a crispier top. I discovered that 350°F gives a softer interior while still achieving a golden crust. The lower temperature allows the cheese to melt evenly, preventing a hard shell that masks the creamy center.
Why Your Nose Knows Best
Before you start baking, give the mixture a sniff. A faint, buttery aroma signals that the cheddar is fully integrated. If you notice a strong “cheese” smell, you’re ready to shape and bake.
The 5-Minute Rest That Changes Everything
After baking, let the loaf rest on a rack for exactly 5 minutes. This pause allows the steam to escape, preventing sogginess on the surface. It also lets the flavors settle, making each bite more harmonious.
The Green Onion Trick
Use only the white and light green parts of the onion; the darker green can add bitterness. Finely mince the green parts to distribute flavor without overpowering the cheese.
The Orange Zest Secret
Zest the orange right before adding it to the mixture. Fresh zest carries more oils than dried, giving the cheese ball a bright, citrusy punch that cuts through the richness.
Creative Twists and Variations
This recipe is a playground. Here are some of my favorite ways to switch things up:
Maple Bacon Crunch
Swap pecans for chopped, crispy bacon and drizzle a teaspoon of maple syrup over the loaf before baking. The sweet, smoky flavor pairs beautifully with the cheese.
Mediterranean Medley
Replace cranberries with sun‑dried tomatoes and add a handful of chopped kalamata olives. The briny notes give it a Mediterranean twist.
Spicy Jalapeño Twist
Dice a fresh jalapeño and fold it into the mixture for a subtle heat. Finish with a sprinkle of smoked paprika for depth.
Herb Garden Edition
Add chopped fresh herbs—such as basil, thyme, or rosemary—to the cheese mixture. This variation brings a fresh, aromatic layer that lifts the dish.
Vegan Version
Use a plant‑based cream cheese and vegan cheddar substitute. Keep the rest of the ingredients unchanged for a dairy‑free, cruelty‑free cheese ball.
Chocolate‑Cranberry Surprise
Fold in a handful of dark chocolate chips and replace some cranberries with dried cherries. This sweet‑savory combo is perfect for dessert lovers.
Storing and Bringing It Back to Life
Fridge Storage
Wrap the cheese ball tightly in plastic wrap and store in the refrigerator for up to 48 hours. The cold will firm the cheese, making it easier to slice and serve. If you need a quick snack, let it sit at room temperature for 15 minutes to soften slightly.
Freezer Friendly
For longer storage, wrap the cheese ball in parchment paper, then in a freezer bag. It will keep for up to 3 months. When ready to serve, thaw overnight in the refrigerator and let it sit at room temperature for 20 minutes before slicing.
Best Reheating Method
To reheat, place the cheese ball on a baking sheet and warm in a preheated 300°F oven for 10 minutes, or until heated through. Add a tiny splash of water before reheating to create steam, which will keep the interior moist and restore that melt‑in‑your‑mouth texture.