It all started on a rainy Tuesday when I was trying to salvage a batch of over‑baked bread dough that had gone flat and soggy. I stared at it, feeling the frustration of a kitchen disaster, and decided to turn it into something delicious instead of discarding it. That moment of culinary rebellion sparked the idea for these bite‑size crème brûlée donuts, a playful twist that turns a failed loaf into a show‑stopping dessert.
Picture the kitchen: the air thick with the scent of vanilla and butter, the faint hiss of a hot skillet, the rhythmic clack of a wooden spoon against the bowl. Your ears catch the subtle crackle of sugar caramelizing, while your eyes track the golden edges forming. The texture feels silky against your tongue, and the aroma lingers, teasing the senses even before the first bite. It’s a scene that makes you wonder how you ever made donuts any other way.
I’ve spent years experimenting with donuts, from classic glazed to chocolate swirl, but nothing has matched the sheer elegance of a crème brûlée center. The custard‑like filling, topped with a crisp sugar shell that snaps under a spoon, creates a contrast that feels both indulgent and refined. It’s the kind of treat that makes you feel like a pastry chef in a Michelin‑star kitchen, even when you’re in your own pantry.
And here’s the kicker: the secret to that perfect caramelized crust isn’t a fancy torch or a fancy sugar blend—it’s a simple trick with brown sugar and a quick blast of heat. I dare you to taste this and not go back for seconds. Trust me, this is hands down the best version you’ll ever make at home.
Let me walk you through every single step — by the end, you’ll wonder how you ever made it any other way.
What Makes This Version Stand Out
- Flavor: A subtle vanilla infusion gives the dough a warm, aromatic depth that pairs perfectly with the caramelized sugar top.
- Texture: The donuts are airy on the inside, with a slightly crisp exterior that gives way to a silky custard center.
- Ease: No special equipment required; a standard donut pan and a kitchen torch are all you need.
- Speed: From prep to finish, the entire process takes under an hour, making it ideal for last‑minute dessert parties.
- Make‑ahead: The donuts can be baked ahead, stored, and quickly reheated, keeping the caramelized crust fresh.
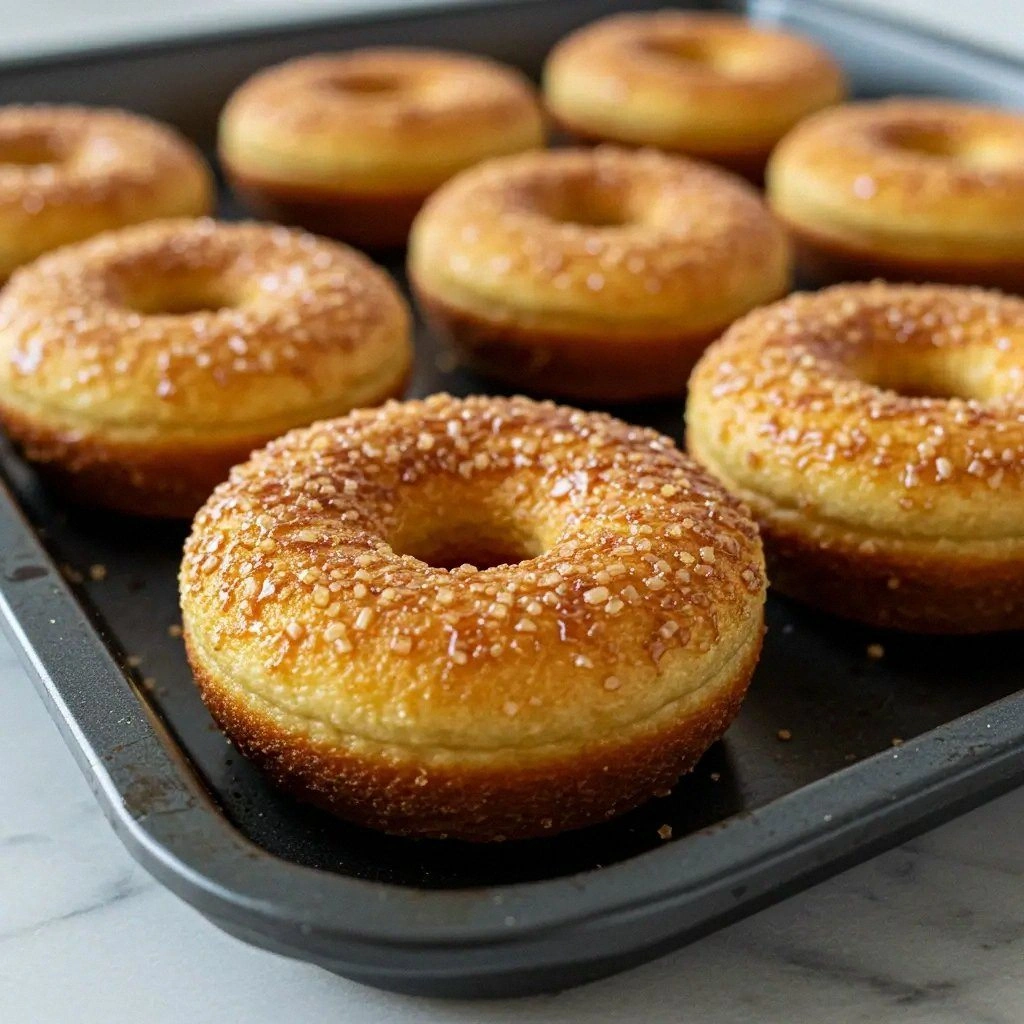
- Visual Appeal: The glossy sugar shell and golden donut shape create a stunning presentation that impresses guests.
- Ingredient Quality: Using real butter and fresh vanilla extract elevates the flavor profile beyond standard store‑bought mixes.
- Versatility: The base recipe can be adapted for vegan or gluten‑free versions with simple ingredient swaps.
Alright, let's break down exactly what goes into this masterpiece...
Inside the Ingredient List
The Flavor Base
At the heart of any donut is the flavor base: flour, sugar, baking powder, and salt. The flour provides structure; the sugar sweetens; the baking powder gives lift; and the salt balances the sweetness. If you skip the salt, the donuts will taste flat and overly sugary. For a richer taste, use whole‑wheat flour instead of all‑purpose; it adds a nutty undertone.
The Texture Crew
Milk, melted butter, vanilla extract, and the egg form the texture crew. Milk hydrates the flour, creating a smooth batter. Melted butter adds tenderness and a subtle buttery flavor. Vanilla extract is the aromatic hero that ties all flavors together. The egg acts as a binder, giving the donuts a tender crumb and a golden crust. If you’re avoiding eggs, try a flaxseed egg or a commercial egg replacer; the texture will be slightly different but still delightful.
The Unexpected Star
The brown sugar topping is the unexpected star of this recipe. It caramelizes into a crisp shell that contrasts beautifully with the soft interior. Brown sugar also brings molasses undertones that deepen the overall flavor. If you prefer a lighter crust, substitute with white sugar or a mix of both; the result will still be delicious.
The Final Flourish
Cooking spray is the final flourish that ensures the donuts release easily from the pan. It also prevents sticking and adds a subtle sheen. Use a light mist to avoid excess oil buildup. If you’re avoiding spray, a small dab of melted butter on the pan works just as well.
Everything's prepped? Good. Let's get into the real action...
The Method — Step by Step
- Preheat and Prepare. Set your oven to 375°F (190°C) and grease a standard donut pan with cooking spray. Let the oven heat while you mix the batter; this ensures even cooking. The pan should be hot enough that a drop of batter sizzles on contact. If you’re using a silicone pan, skip the spray entirely. This step sets the foundation for crisp edges that shatter like thin ice when you bite in.
- Combine Dry Ingredients. In a large bowl, whisk together flour, sugar, baking powder, and salt until well blended. The dry mix should be smooth with no lumps. This creates an even distribution of leavening agents, preventing uneven rise. If you notice clumps, sift them through a fine mesh. The batter will be light and airy once mixed properly.
- Blend Wet Ingredients. In a separate bowl, whisk milk, melted butter, vanilla extract, and the egg until the mixture is glossy. The egg’s proteins bind the batter, giving the donuts a tender crumb. The butter adds richness, while the vanilla provides aromatic depth. If you prefer a vegan version, replace the egg with a flaxseed mixture and use plant‑based milk. The texture will be slightly denser but still delightful.
- Merge the Mixtures. Pour the wet mixture into the dry and stir with a wooden spoon until just combined. Avoid over‑mixing; a few streaks are fine. Over‑mixing can develop gluten, resulting in a tough donut. The batter should be thick but pourable. A gentle fold ensures the dough remains airy and light.
- Fill the Pan. Spoon the batter into the donut pan, filling each cavity about three‑quarters full. This allows room for rise without overflow. Press lightly to eliminate air pockets. The batter should sit evenly; if it’s too thick, add a splash of milk. Watch the edges; they should be smooth and free of cracks.
- Bake to Perfection. Place the pan in the preheated oven and bake for 12–15 minutes, or until the donuts are golden and a toothpick inserted into the center comes out clean. The edges will start pulling away from the pan, signaling readiness. Keep a close eye to avoid over‑browning. When done, remove from oven and let cool for 5 minutes on a wire rack.
- Cool and Prepare for Topping. Once the donuts have cooled slightly, sprinkle brown sugar evenly over the top of each donut. The sugar will cling to the warm surface, forming a sweet crust as it caramelizes. Let the donuts sit for 2–3 minutes to allow the sugar to set. If you prefer a darker crust, add a pinch of sea salt to the sugar mixture.
- Caramelize with a Torch. Using a kitchen torch, carefully melt the sugar until it turns amber and forms a crisp shell. Keep the flame moving to avoid burning. The sound of the sugar crackling is a sign of success. If you don’t have a torch, place the donuts under a broiler for 1–2 minutes, watching closely to prevent burning. The result is a glossy, caramelized topping that snaps under a spoon.
- Cool Completely. Allow the donuts to cool completely on a wire rack before serving. The sugar crust will harden, creating a satisfying crunch. If you need to store them, place them in an airtight container at room temperature for up to 48 hours. The donuts will retain their crispness and flavor for a short period.
- Serve and Enjoy. Serve the donuts warm or at room temperature, preferably with a cup of coffee or a glass of milk. The combination of creamy interior and caramelized exterior will leave a lasting impression. Pair them with fresh berries for a pop of color and acidity. This is the moment of truth—watch the smiles unfold as people take their first bite.
That's it — you did it. But hold on, I've got a few more tricks that'll take this to another level...
Insider Tricks for Flawless Results
The Temperature Rule Nobody Follows
Many bakers bake at a high temperature, but the secret to a tender crumb is a moderate 375°F. A lower temperature allows the donuts to rise evenly without drying out. If you’re in a hot climate, reduce the oven temperature by 10°F to compensate for the ambient heat. This simple tweak can mean the difference between a chewy donut and a dry one.
Why Your Nose Knows Best
Before you start the torch, give the donuts a quick sniff. A faint scent of caramel indicates the sugar is ready to crack. If the scent is too sweet or you smell raw sugar, give them a minute more to cool. Your nose is a reliable guide—don’t ignore it. It’s the same trick chefs use to judge the doneness of pastries.
The 5-Minute Rest That Changes Everything
After baking, let the donuts rest on a wire rack for exactly five minutes. This brief pause allows steam to escape, preventing sogginess. If you rush the cooling step, the sugar crust may become gummy. A five‑minute rest also lets the interior settle, making the donuts easier to handle.
Keep the Sugar from Sticking
When sprinkling brown sugar, toss it into a small bowl and tap the bowl gently to create a fine dust. A fine dust adheres better and caramelizes evenly. If the sugar clumps, it will create uneven spots. This technique is especially useful if you’re adding spices to the sugar.
Donut Pan Alternatives
Not a donut pan? No problem. A muffin tin works as a substitute, but the donuts will be slightly thicker. To mimic the classic donut shape, cut a small hole in the center with a melon baller. This trick gives a similar appearance and texture.
Donut Storage Secrets
Store donuts in an airtight container at room temperature for up to 48 hours. If you need to keep them longer, freeze them for up to two weeks. When you’re ready to serve, thaw at room temperature and give them a quick broil for 30 seconds to revive the crispness.
Creative Twists and Variations
This recipe is a playground. Here are some of my favorite ways to switch things up:
Chocolate Crème Brûlée Donuts
Swap half the flour for cocoa powder and add a splash of espresso to the batter. The result is a rich, chocolatey donut with a velvety caramelized top. Chocolate lovers will adore the deep flavor profile.
Maple Bacon Donuts
Incorporate maple syrup into the batter and fold in crispy bacon bits after baking. The sweet maple and savory bacon create a breakfast‑for‑dessert sensation. The sugar crust caramelizes beautifully with the maple flavor.
Lemon Poppy‑Seed Donuts
Add lemon zest and poppy seeds to the dry mix. The citrus brightness cuts through the richness, while the poppy seeds add a subtle crunch. This version is perfect for spring or summer gatherings.
Espresso Crème Brûlée Donuts
Replace the vanilla extract with espresso powder and add a dash of almond extract. The espresso gives a deep, coffee‑laden flavor that pairs well with a latte. It’s an excellent brunch option.
Caramel Apple Donuts
Fold in diced apples and a pinch of cinnamon into the batter. After baking, drizzle with caramel sauce and sprinkle with chopped pecans. The apples add moisture and a natural sweetness.
Vegan Crème Brûlée Donuts
Use a flaxseed egg, plant‑based milk, and a vegan butter substitute. The texture remains light, and the caramelized crust stays crisp. This version is a hit with vegan friends.
Storing and Bringing It Back to Life
Fridge Storage
Place donuts in an airtight container in the refrigerator for up to 48 hours. The sugar crust will soften slightly, so let them sit at room temperature for 10 minutes before serving to restore crispness. This method keeps the donuts fresh for a short period.
Freezer Friendly
Wrap each donut individually in parchment paper and place them in a freezer bag. Freeze for up to two weeks. When ready, thaw at room temperature and warm in a preheated oven at 350°F for 5 minutes to revive the crispness.
Best Reheating Method
To reheat, place donuts on a baking sheet and bake at 350°F for 5 minutes. Add a splash of water to the pan to create steam; this steams the donuts back to perfection, preventing them from drying out. The sugar crust will remain crisp, and the interior will stay moist.