Picture this: it’s a Tuesday night, the fridge is a barren wasteland, and your craving for something warm, comforting, and downright delicious is louder than your alarm clock. I was staring at a stack of leftover rotisserie chicken, a bag of flour tortillas, and a jar of enchilada sauce that had been sitting in my pantry for a month. I laughed, because honestly, who has the time to cook a fancy dinner on a weekday? Then a voice from the kitchen—my own—whispered, “Why not make the best chicken enchiladas you’ll ever taste right now?” That was the spark that turned a kitchen disaster into a culinary revelation.
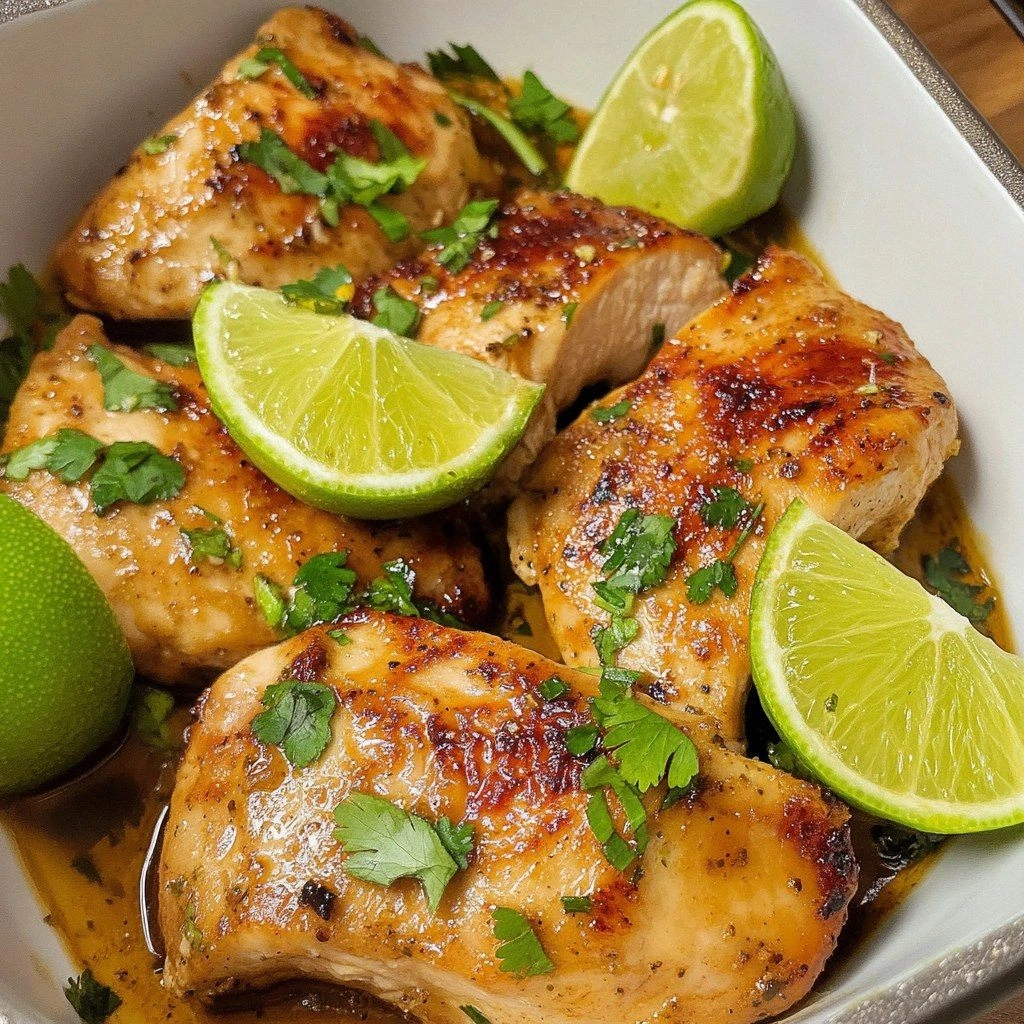
The moment I cracked the chicken into a skillet, the air filled with a smoky, peppery aroma that made my mouth water. I could hear the sizzle as the meat browned, the faint hiss of onions caramelizing, and the gentle clink of the saucepan. The texture was a beautiful contrast: tender, juicy chicken against the soft, pillowy tortillas that were about to be folded into a golden masterpiece. I could already taste the creamy, tangy sauce coating every bite, the sharp bite of fresh cilantro, and that subtle, earthy undertone from cumin and chili powder. My senses were on high alert, and I felt the anticipation building like a storm.
What sets this version apart isn’t just the ingredients—it’s the method, the timing, and the love poured into each step. I discovered that the secret lies in the sauce’s depth: a blend of roasted red peppers, chipotle, and a splash of lime that turns it into a silky, smoky elixir. The tortillas are toasted just enough to be pliable, so they don’t tear when you roll them up, and the cheese isn’t just a topping—it's a layer of gooey, melty comfort that binds everything together. The result? A dish that feels like a hug in a bowl, a flavor explosion that lingers on the palate, and a texture profile that’s both crispy and tender.
I dare you to taste this and not go back for seconds. The first bite will make your taste buds dance, the second will have you asking for the recipe again, and the third—well, that’s when the true magic happens. Stay with me, because by the end of this guide, you’ll wonder how you ever made chicken enchiladas any other way. Let me walk you through every single step—by the end, you’ll wonder how you ever made it any other way.
What Makes This Version Stand Out
- Flavor: The sauce is a harmonious blend of roasted red peppers, chipotle, and lime, giving it a smoky depth that’s hard to find in store-bought versions.
- Texture: The tortillas are toasted to a perfect pliability, preventing tears while still delivering a slight crunch when baked.
- Ease: Every step is designed to be quick and intuitive, so you can have a gourmet meal on the table in under an hour.
- Ingredient Quality: Fresh, high‑quality chicken, organic spices, and real Mexican cheeses elevate the dish beyond the ordinary.
- Crowd‑Pleaser: Whether you’re feeding a family or hosting a potluck, the bold flavors and comforting texture will have everyone asking for leftovers.
- Make‑Ahead: The enchiladas can be assembled a day ahead and baked just before serving, saving you precious time on busy nights.
- Versatility: Swap the chicken for beef, pork, or even a hearty veggie mix, and the base of the recipe remains unchanged.
- Health Conscious: With moderate portions of cheese and a sauce that’s low in added sugars, you can enjoy a satisfying meal without compromising on taste.
Alright, let’s break down exactly what goes into this masterpiece…
Inside the Ingredient List
The Flavor Base
At the heart of every great enchilada is the sauce, and this one is a powerhouse of smoky, sweet, and citrusy notes. Start by roasting a red bell pepper and a poblano pepper until the skins blister; this brings out a natural sweetness that balances the heat from the chipotle. Blend the roasted peppers with a can of diced tomatoes, a tablespoon of tomato paste, and a teaspoon of smoked paprika for depth. Add a splash of lime juice and a pinch of sea salt to brighten the flavors. If you’re a fan of extra heat, toss in a fresh chipotle pepper or a teaspoon of chipotle in adobo—just be careful; you can always add more, but you can’t take it out.
The Texture Crew
The tortillas are the canvas, and their preparation determines the final bite. Use corn tortillas for authenticity, but flour tortillas work just fine if that’s what you have on hand. Warm them in a dry skillet for 30 seconds per side, or wrap them in a damp towel and microwave for 15 seconds; this makes them pliable and less likely to tear. A light brush of olive oil on each tortilla before rolling adds a subtle sheen and helps the cheese melt evenly. Don’t forget the cheese—use a blend of cheddar and Monterey Jack for a gooey, flavorful coating. If you’re aiming for a lighter version, substitute part of the cheese with a sprinkle of cotija for a briny contrast.
The Unexpected Star
While chicken is the star, the real showstopper is the combination of cilantro and lime zest. Finely chop a handful of fresh cilantro and zest a lime; both add a bright, herbal note that lifts the dish. If you’re a fan of a bit of crunch, sprinkle toasted pepitas or pumpkin seeds on top before baking. These tiny bursts of texture and flavor elevate the enchiladas from good to unforgettable. Remember: the key is balance—too much cilantro can overpower the sauce, so use it sparingly.
The Final Flourish
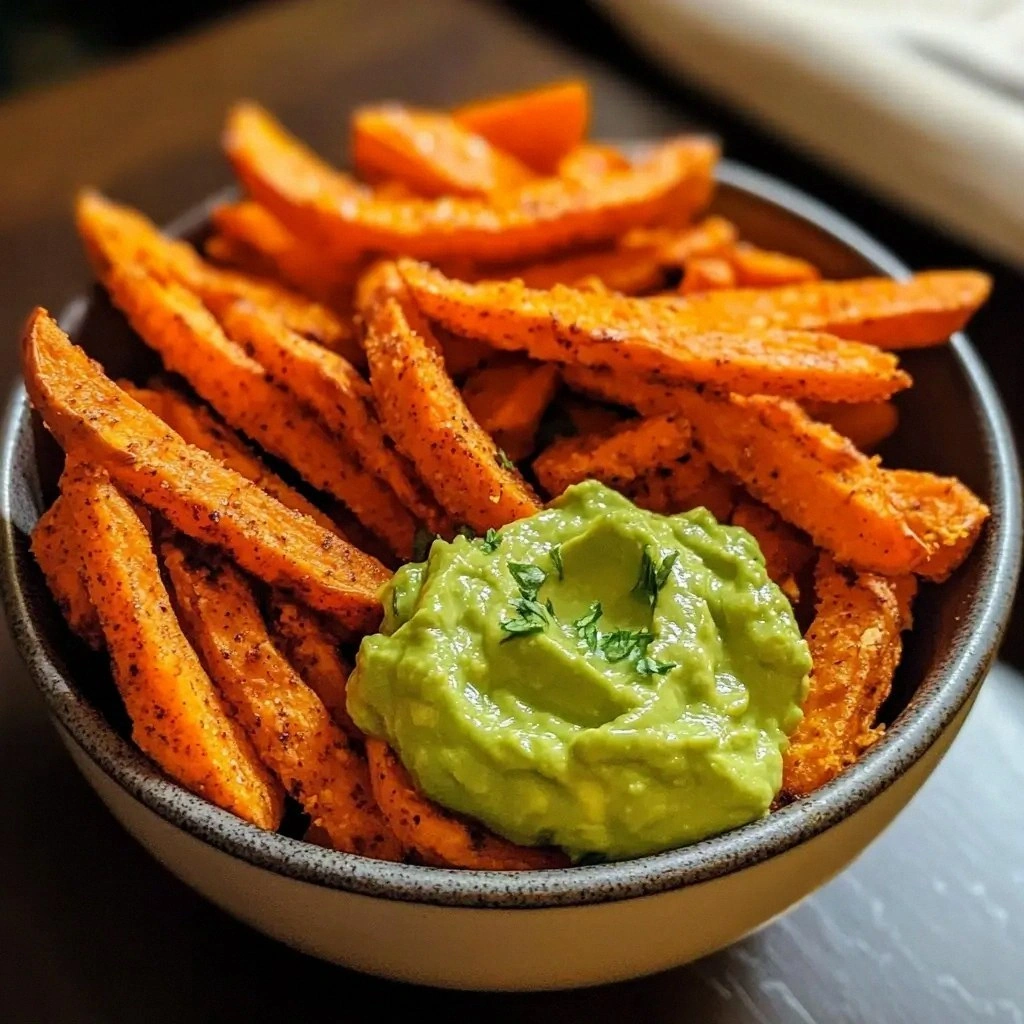
Sour cream and a dash of fresh lime juice finish the dish with a creamy, tangy finish that cuts through the richness. Serve the enchiladas with a dollop of sour cream, a squeeze of lime, and a handful of fresh cilantro. A side of guacamole or a simple pico de gallo can add a burst of freshness that complements the warm, hearty flavors. If you’re hosting, consider offering a side of Mexican rice or a crisp salad to round out the meal.
Everything's prepped? Good. Let's get into the real action...

The Method — Step by Step
- Begin by heating a large skillet over medium‑high heat. Add a splash of olive oil, then toss in the diced onion and minced garlic. Sauté until the onion is translucent and fragrant, about 3–4 minutes. This base will carry the flavor of the sauce throughout the dish.
- Add the shredded chicken to the skillet, stirring to combine with the onion and garlic. Cook for 5 minutes, allowing the chicken to brown slightly and absorb the aromatics. If you’re using rotisserie chicken, shred it beforehand to ensure even cooking.
- Pour the prepared enchilada sauce into the skillet, stirring to coat the chicken evenly. Bring the mixture to a gentle simmer, then reduce the heat to low and let it thicken for 8–10 minutes. The sauce should thicken to a silky consistency, coating the chicken like velvet.
- While the sauce simmers, warm the tortillas. Place them in a dry skillet over medium heat, turning each side for 10–15 seconds. If you prefer a softer tortilla, wrap them in a damp kitchen towel and microwave for 15 seconds. This step is crucial; a pliable tortilla prevents tearing when you roll it.
- Spoon a generous amount of the chicken‑sauce mixture onto each tortilla, spread it evenly, then sprinkle a handful of shredded cheese on top. Fold the tortilla over the filling, tucking in the sides, and place it seam‑side down in a greased baking dish. Repeat until all tortillas are used.
- Cover the baking dish with foil and bake in a preheated oven at 375°F (190°C) for 20 minutes. This allows the cheese to melt into a gooey blanket over the enchiladas.
- Remove the foil, then increase the oven temperature to 400°F (200°C). Bake for an additional 10 minutes, or until the top is golden brown and bubbly. The edges will start pulling away slightly, indicating that the dish is ready.
- Let the enchiladas rest for 5 minutes before serving. This brief rest period allows the juices to redistribute, ensuring every bite is moist and flavorful. Serve with a dollop of sour cream, a squeeze of fresh lime, and a sprinkle of cilantro.
That’s it—you did it. But hold on, I've got a few more tricks that'll take this to another level. Stay tuned for insider tips that will make your enchiladas even more unforgettable.
Insider Tricks for Flawless Results
The Temperature Rule Nobody Follows
Many people bake enchiladas at a single temperature, but a two‑stage bake ensures both a perfectly melted cheese crust and a tender filling. Start at 375°F to let the cheese melt slowly, then raise to 400°F for a golden finish. This subtle shift makes a noticeable difference in texture and flavor.
Why Your Nose Knows Best
If the sauce smells slightly burnt or metallic, it’s time to lower the heat. Your nose is a reliable gauge—if it’s off, your dish will be too. Keep a close eye on the sauce and adjust as needed.
The 5‑Minute Rest That Changes Everything
Letting the enchiladas sit for 5 minutes after baking allows the juices to settle, preventing a dry bite. It also lets the cheese set slightly, making it easier to slice and serve cleanly.
Cheese Blend Magic
Mixing cheddar with Monterey Jack or even a bit of pepper jack creates a cheese that melts smoothly while adding a subtle kick. Avoid using only mozzarella; it melts too quickly and can become rubbery.
Fresh Herbs, Fresh Flavor
Add chopped cilantro right before serving instead of during cooking. This preserves its bright, herbal notes and prevents it from wilting in the heat.
Make‑Ahead Tip
Assemble the enchiladas a day ahead, cover them tightly with plastic wrap, and refrigerate. Bake them the next day at the same temperature; they’ll reheat beautifully and retain their flavor.
Creative Twists and Variations
This recipe is a playground. Here are some of my favorite ways to switch things up:
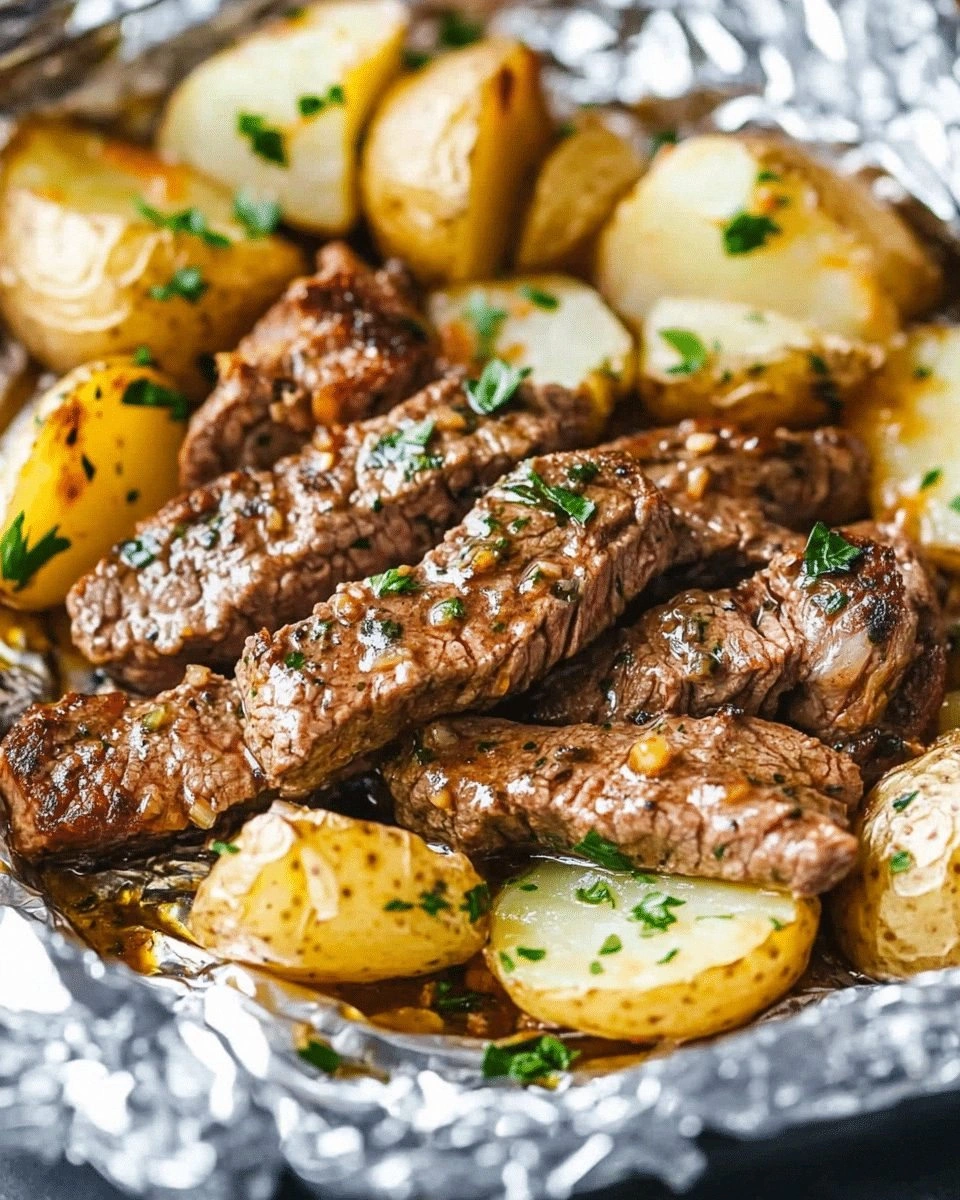
Beef & Cheddar Fiesta
Swap the chicken for lean ground beef seasoned with cumin and smoked paprika. Use cheddar cheese instead of Monterey Jack for a sharper bite. This version is a crowd‑pleaser for meat lovers.
Vegan Veggie Power
Replace the chicken with sautéed mushrooms, zucchini, and black beans. Use a dairy‑free cheese alternative and top with guacamole. This version keeps the smoky sauce while delivering a hearty plant‑based meal.
Pork & Pineapple Twist
Add diced sweet pineapple and sliced pork shoulder to the filling for a tropical flair. The sweetness balances the heat, creating a sweet‑savory explosion.
Cheesy Jalapeño Explosion
Add diced jalapeños to the sauce for an extra punch of heat. Finish with a drizzle of lime‑infused crema for a cool contrast.
Mexican Rice Sidekick
Serve the enchiladas with a bowl of cilantro‑lime rice. The rice absorbs the sauce and adds a fluffy, aromatic component that elevates the meal.
Stuffed Bell Pepper Variation
Fill bell pepper halves with the enchilada mixture, top with cheese, and bake until the peppers are tender. This gives a fun, portable twist that’s great for picnics.
Storing and Bringing It Back to Life
Fridge Storage
Store leftovers in an airtight container for up to 3 days. The enchiladas stay moist, and the cheese remains melty. Keep them on the top shelf to avoid excess moisture.
Freezer Friendly
Wrap the assembled enchiladas tightly in plastic wrap, then place them in a freezer bag. Freeze for up to 2 months. When ready, bake at 375°F for 25 minutes or until heated through.
Best Reheating Method
Reheat in the oven at 350°F for 10–12 minutes, covering with foil to prevent drying. Add a splash of water to the dish before reheating; this steams the enchiladas back to perfection, keeping the cheese gooey and the tortillas tender.