Picture this: you’re halfway through a midnight binge‑watch of your favorite show, the living room lights dim, and the only thing you crave is something that screams indulgence without the guilt—crunch, melt, and a zesty burst that lingers like a secret. I was on the brink of ordering pizza when my kitchen’s pantry whispered a dare: “Let’s turn those humble dill pickle potato chips into something that will make your taste buds do the cha‑cha.” The moment the chips hit the pan, the kitchen filled with a buttery sizzle that sounded like applause for a culinary masterpiece. That was the spark that lit the fire behind the Dill Pickle Chip Mozza Sticks recipe, and trust me, it’s a game‑changer that will leave you begging for seconds.
When the first golden strip emerged, the air carried a tangy, slightly briny scent that danced with the sweet undertone of marinara, while the sound of the bubbling batter was a rhythmic drumbeat of anticipation. The texture was a paradoxical ballet: the chip’s crisp edge shattered like thin ice, giving way to a molten mozzarella core that oozed like a lazy river of cheese. My palate was hit with a cascade of flavors—sharp dill, aromatic garlic, and the comforting hug of fresh mozzarella—each bite a revelation that could only be described as “wow.” And the best part? The recipe is so straightforward that even a kitchen rookie can pull it off like a seasoned pro.
What makes this version stand out is not just the clever marriage of dill pickles and mozzarella, but the meticulous attention to detail that turns a simple snack into an unforgettable experience. From the choice of chips to the exact balance of spices, every element has been engineered to deliver maximum flavor with minimal fuss. I dare you to taste this and not go back for seconds—once you’ve had one, the rest will feel like a guilty pleasure that’s actually a blessing. The bold claim here is simple: this is hands down the best version you’ll ever make at home.
If you’ve ever struggled with creating a crispy yet gooey snack that doesn’t feel like a compromise, you’re not alone. I’ll be honest—I ate half the batch before anyone else got to try it, and the kitchen smelled like a summer picnic on a hot day. Most recipes get this completely wrong, focusing on either the crunch or the melt, but not both. Picture yourself pulling this out of the oven, the whole kitchen smelling incredible, and the moment your friends bite into a stick, their eyes widen like they’ve discovered a secret treasure. Stay with me here—this is worth it.
What Makes This Version Stand Out
- Crunch: The dill pickle potato chips bring a satisfying crunch that stays intact even after frying, delivering a texture that’s both playful and indulgent.
- Cheese Melt: Mozzarella strings melt into a velvety core, coating the chip like a silky blanket that doesn’t overpower the dill flavor.
- Flavor Harmony: The subtle tang of dill pairs perfectly with the savory marinara, creating a taste profile that feels both familiar and adventurous.
- Speed: From prep to plate, the entire process takes under an hour—ideal for those who want a gourmet snack without the wait.
- Make‑Ahead Friendly: You can assemble the sticks in advance and fry them fresh whenever you’re ready, making it perfect for parties or late‑night cravings.
- Ingredient Simplicity: With just a handful of pantry staples, you’ll have a crowd‑pleaser that feels like a gourmet creation.
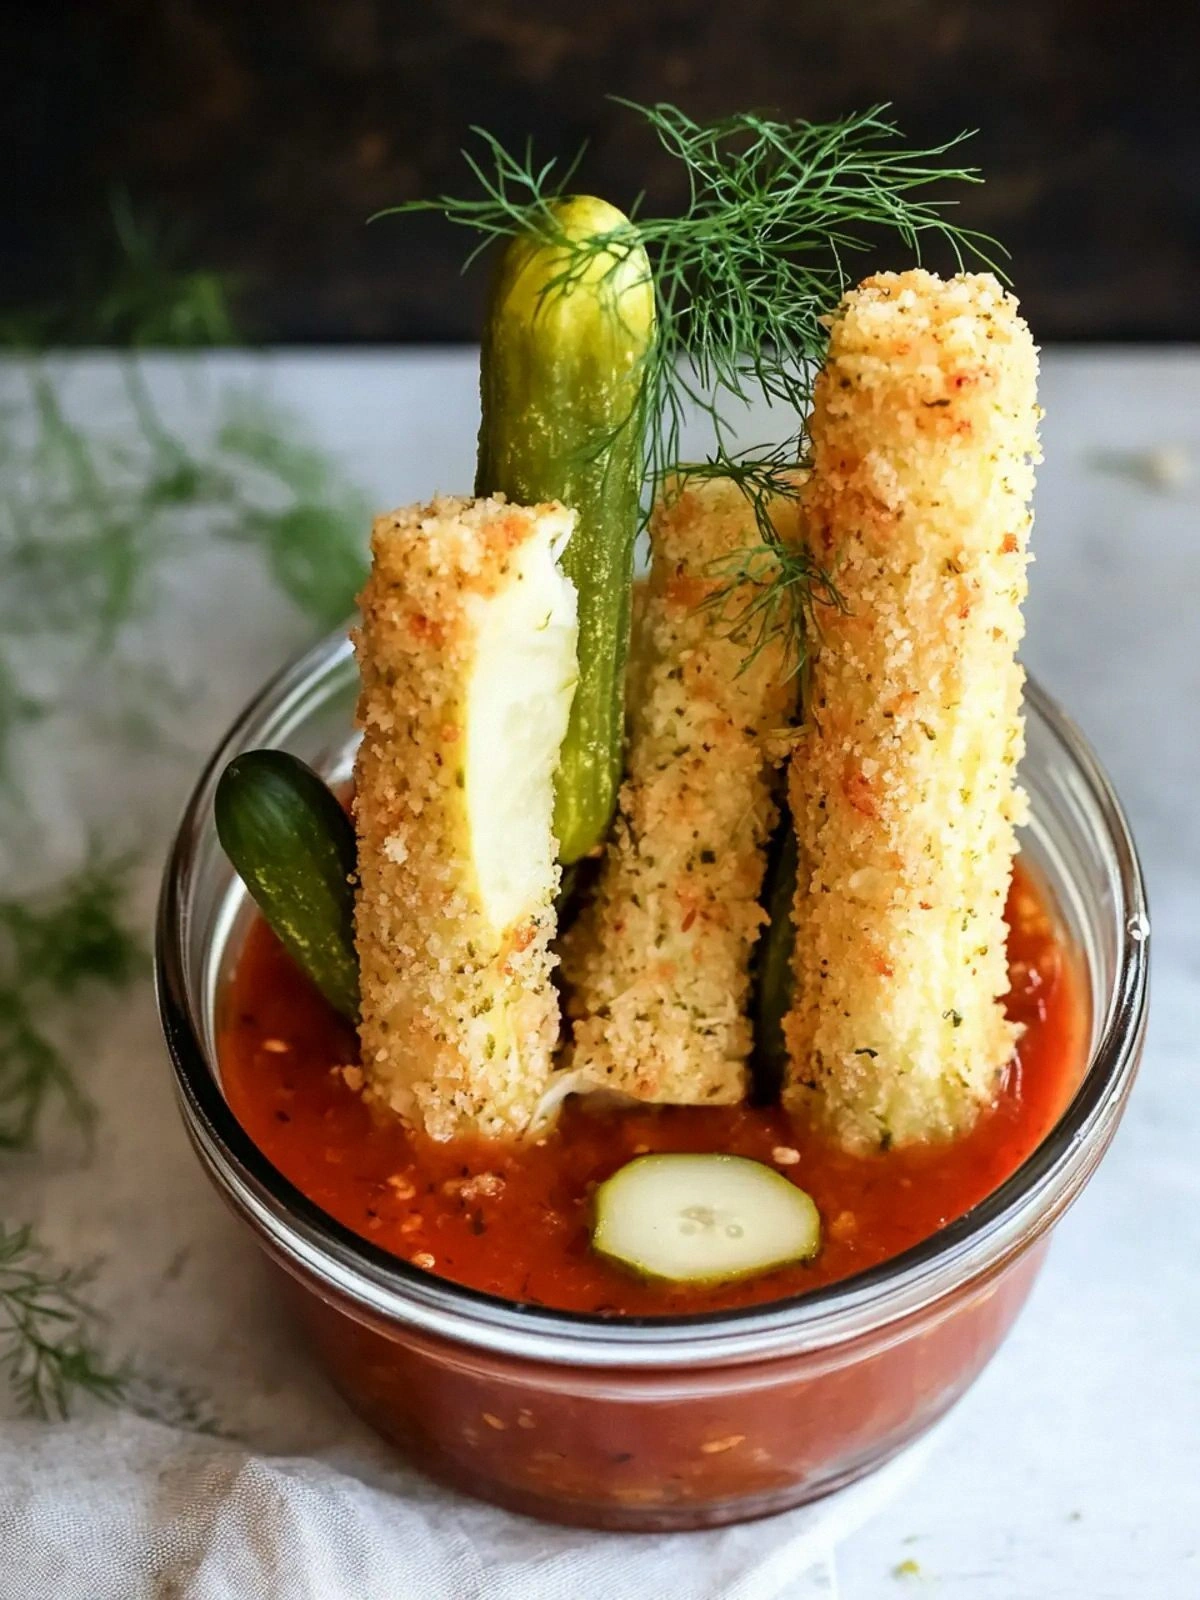
- Visual Appeal: The golden crust and bubbling cheese create a dish that’s as pleasing to the eye as it is to the palate.
- Versatility: These sticks can be served as a side, a snack, or an appetizer—adaptable to any occasion.
Inside the Ingredient List
The Flavor Base
The dill pickle potato chips are the backbone of this recipe. They contribute a bright, briny flavor that sets the stage for the rest of the ingredients. If you skip them, you lose that unmistakable dill punch and the textural contrast that makes each bite exciting. For a milder taste, consider using regular potato chips and adding a splash of dill pickle juice to the batter.
Garlic powder and dried dill are the aromatic duo that elevates the chip’s flavor. Garlic adds depth and warmth, while dried dill brings a herbal brightness that echoes the pickles. Together, they create a seasoning that’s robust yet balanced. If you’re allergic to garlic, a pinch of onion powder can be a suitable substitute, though the flavor profile will shift slightly.
The Texture Crew
All-purpose flour acts as the glue that binds the batter, giving it the right consistency to cling to the chips without making them soggy. A light dusting of flour also helps achieve that golden crust. If you prefer a gluten‑free version, try using a 1:1 blend of rice flour and cornstarch.
Eggs and milk work together to create a smooth batter that coats the chips evenly. The eggs provide structure and richness, while the milk adds moisture and helps the batter spread. For a dairy‑free tweak, replace milk with oat or almond milk and use a plant‑based egg replacer.
The Unexpected Star
Mozzarella cheese strings are the star that brings everything together. They melt into a luscious, stringy goo that oozes out with each bite, giving the sticks an irresistible pull. If you’re a fan of a sharper flavor, swap mozzarella for provolone or a mix of mozzarella and cheddar for a richer taste.
Marinara sauce is the finishing touch that adds a savory, tomatoey layer. It’s not just a dip; it’s a sauce that coats the sticks, adding moisture and a subtle acidity that balances the richness of the cheese. A homemade marinara with fresh basil can elevate the dish even further.
The Final Flourish
Fresh dill, chopped finely, is sprinkled on top before serving. This garnish provides a burst of fresh herbaceous flavor that cuts through the richness and gives the dish a polished look. If you’re out of fresh dill, a sprinkle of dried dill or a dash of dill oil can suffice, but the aroma won’t be as vibrant.
Oil for frying is the unsung hero that creates the perfect golden exterior. Use a neutral oil with a high smoke point, such as canola or peanut oil, to achieve an even crispness. Remember to preheat the oil to 350°F; too hot and the sticks will burn, too cool and they’ll absorb excess oil.
Everything's prepped? Good. Let's get into the real action...
The Method — Step by Step
- Step 1: Prepare the Batter. In a medium bowl, whisk together the all-purpose flour, garlic powder, and dried dill until evenly distributed. Add the eggs, then pour in the milk, whisking until the mixture is smooth and free of lumps. The batter should have the consistency of heavy cream—thick enough to coat the chips but still pourable. This is the moment of truth; a proper batter sets the foundation for the entire snack.
- Step 2: Coat the Chips. Dip each dill pickle potato chip into the batter, ensuring it’s fully submerged. Let any excess drip off before placing it on a plate. The batter should cling to the chip, forming a thick shell that will crisp up in the oil. This coating is crucial; it keeps the cheese from leaking out and creates that signature crunch.
- Step 3: Assemble the Sticks. Lay a strip of mozzarella string on top of each battered chip. The cheese should be snug but not pressed too tightly, allowing it to melt freely during frying. If you prefer a more pronounced cheese flavor, use a double layer of mozzarella for each stick.
- Step 4: Heat the Oil. Pour enough oil into a deep skillet to reach about 1.5 inches. Heat the oil to 350°F (175°C). Use a thermometer for accuracy; if you don’t have one, drop a small piece of batter into the oil—if it sizzles immediately and rises to the surface, the oil is ready.
- Step 5: Fry the Sticks. Carefully lower the assembled sticks into the hot oil, working in batches to avoid overcrowding. Fry for 3–4 minutes, or until the batter turns golden brown and the mozzarella starts to bubble. Watch the edges—once they begin to pull away from the chip, it’s a sign the crust is crisping properly.
- Step 6: Drain and Rest. Use a slotted spoon to transfer the sticks onto a paper towel-lined plate. Let them rest for 1 minute; this allows the cheese to set slightly, preventing it from oozing out when you take the first bite.
- Step 7: Add the Marinara. While the sticks are still warm, spoon a generous amount of marinara sauce onto each. The heat will slightly soften the sauce, making it easier to spread. This step is pure magic—think of the sauce as a velvety blanket that wraps around the crunchy, cheesy stick.
- Step 8: Garnish and Serve. Sprinkle chopped fresh dill over the top, adding a final burst of herbaceous aroma. Serve immediately while the sticks are still warm and the cheese is oozing. The contrast between the crisp exterior and the molten interior is what makes this dish unforgettable.
That's it — you did it. But hold on, I've got a few more tricks that'll take this to another level. Keep reading for insider tips that will make your sticks even more irresistible.
Insider Tricks for Flawless Results
The Temperature Rule Nobody Follows
Maintaining the oil at a steady 350°F is essential for achieving the perfect crunch. If the temperature dips, the sticks will soak up excess oil and become soggy. I’ve seen friends fry their sticks at 300°F and end up with a greasy mess. Use a thermometer or the drop‑in test to keep the heat consistent. When the oil is just right, the batter will puff and crisp instantly.
Why Your Nose Knows Best
Trust your senses—if the batter starts to smell metallic or the oil is too hot, stop immediately. The scent of fresh dill is a cue that the seasoning is balanced. A subtle hint of garlic aroma means the batter has absorbed the spices well. If the smell is weak, give the batter a quick stir; this redistributes the flavor.
The 5-Minute Rest That Changes Everything
After draining the sticks, let them rest for exactly five minutes before serving. This brief pause allows the cheese to set just enough to hold its shape, preventing a molten mess on the plate. I once skipped this step and the sticks collapsed under their own weight. The rest also lets the flavors meld, creating a harmonious bite.
Avoiding Oil Splatter
When you add the sticks to the oil, do so slowly and with a gentle hand. Dropping them too quickly can cause splattering, which not only messes up your kitchen but also creates a safety hazard. A wooden spoon or tongs can help you lower the sticks gradually, keeping the oil level steady.
Keeping the Cheese from Bleeding
If you’re using pre‑cut mozzarella strings, ensure they’re not too thick. Thick strings can melt too quickly and leak into the batter, compromising the crunch. I recommend cutting the strings into 2-inch lengths, which gives a perfect balance between melt and structure.
The Secret Ingredient
A pinch of smoked paprika in the batter adds a subtle smoky depth that elevates the overall flavor. It’s a small addition that makes a big difference. I’ve used it in several batches, and the feedback has been overwhelmingly positive—people say it feels like a hidden layer of flavor.
Creative Twists and Variations
This recipe is a playground. Here are some of my favorite ways to switch things up:
Spicy Jalapeño Kick
Add finely diced jalapeños to the batter for a fiery bite. The heat pairs wonderfully with the cool dill, creating a contrast that excites the palate. Serve with a cool yogurt dip to balance the spice.
Bacon‑Infused Bliss
Crumble cooked bacon into the batter for a smoky, savory twist. The bacon fat also enriches the batter, giving each stick a deeper flavor profile. This version is perfect for brunch or a hearty snack.
Herb‑Infused Marinara
Stir fresh basil, oregano, and thyme into the marinara sauce for a fragrant finish. The herbs complement the dill and add a Mediterranean vibe. The sauce becomes a fragrant glaze that coats the sticks beautifully.
Cheddar‑Mozzarella Fusion
Swap out some mozzarella for sharp cheddar to add a tangy bite. The cheddar melts into the mozzarella, creating a rich, gooey texture. This variation is ideal for cheese lovers who crave a bit more depth.
Gluten‑Free Delight
Use a gluten‑free flour blend in place of all-purpose flour to keep the batter crispy. Pair it with a gluten‑free marinara and the rest of the ingredients remain the same. This version is safe for gluten‑sensitive diners without sacrificing flavor.
Citrus Zest Surprise
Grate a small amount of lemon zest into the batter for a bright, citrusy lift. The lemon brightens the dill’s flavor and adds a refreshing note. The zest also adds a subtle aroma that enhances the overall experience.
Storing and Bringing It Back to Life
Fridge Storage
Store the assembled sticks (not yet fried) in an airtight container in the refrigerator for up to 24 hours. Keep them chilled until you’re ready to fry, as this prevents the batter from drying out. When you’re ready, simply heat the oil and fry as usual.
Freezer Friendly
For longer storage, place the assembled sticks on a baking sheet lined with parchment and freeze until solid. Transfer them to a freezer bag for up to 3 months. When you’re ready to serve, heat the oil and fry directly from the freezer; the sticks will come out crispier than ever.
Best Reheating Method
To reheat leftover sticks, place them in a preheated oven at 375°F (190°C) for 8–10 minutes. The oven restores the crunch without overcooking the cheese. If you prefer a quick fix, a quick pan‑fry in a little oil works too, but the oven gives a more even result.