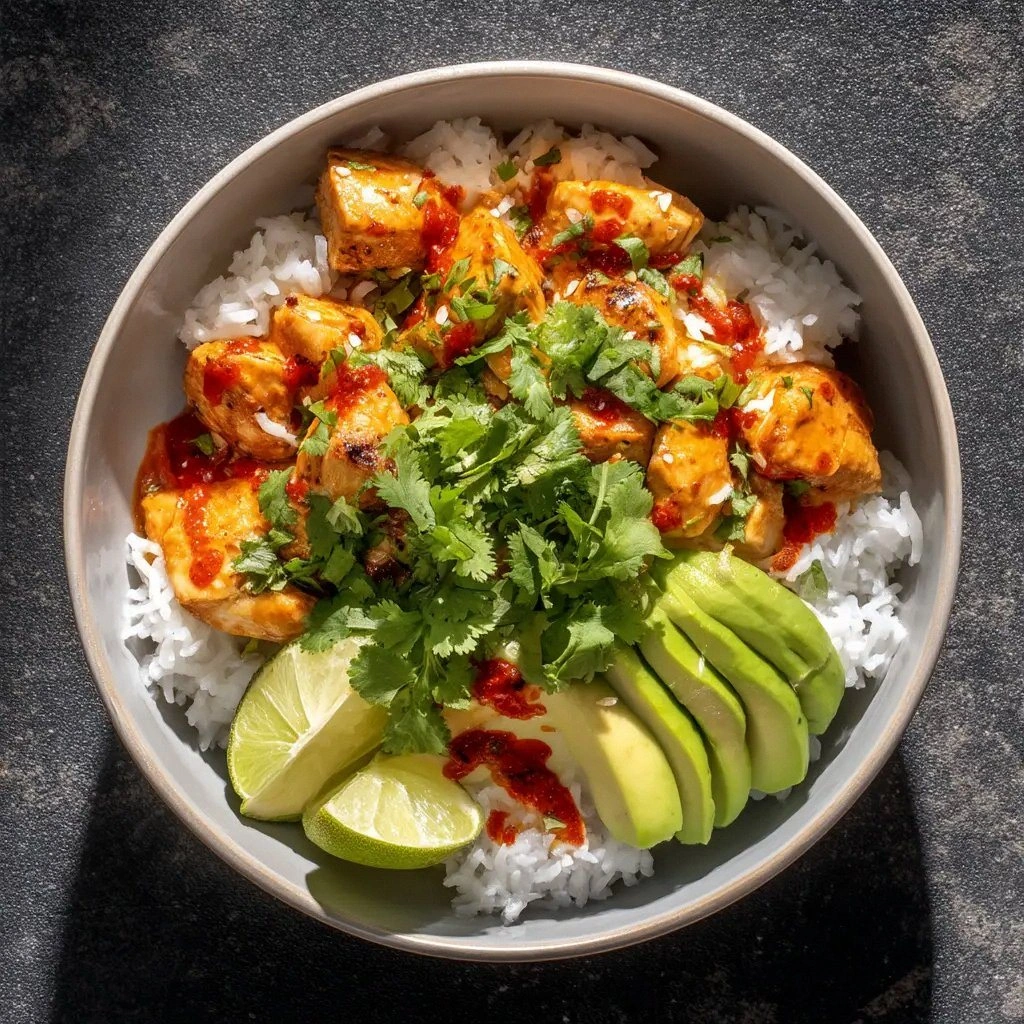
Picture this: you’re halfway through a midnight snack run, the fridge lights flicker, and your pantry is a chaotic mess of leftovers, ramen, and a single packet of rice. The kitchen smells like a failed soufflé and a burnt toast, and your stomach is a drum that keeps beating louder than the TV. I was in that exact moment, clutching a handful of chicken thighs that had been marinating in a bland, forgettable sauce. That’s when I decided, with a half‑sated grin, to turn my culinary misfortune into a masterpiece. I dared you to taste this and not go back for seconds, and I’m still laughing at how the kitchen smelled after that first sizzle.
What makes a dish unforgettable? It’s the way the aroma lingers, the crunch that snaps like thin ice, and that sweet, savory sauce that coats the rice like velvet. In this recipe, every component is engineered to deliver a symphony of textures: the golden panko crust, the melt‑in‑your‑mouth chicken, the umami‑laden nori, and the sweet‑tangy tonkatsu sauce that ties everything together. I’ve spent hours testing, tweaking, and tasting until I found the exact balance that makes this dish stand out from every other katsu musubi out there. The secret? A surprisingly simple technique that turns ordinary ingredients into an explosion of flavor. If you’re ready to move beyond the standard, let me walk you through every single step — by the end, you’ll wonder how you ever made it any other way.
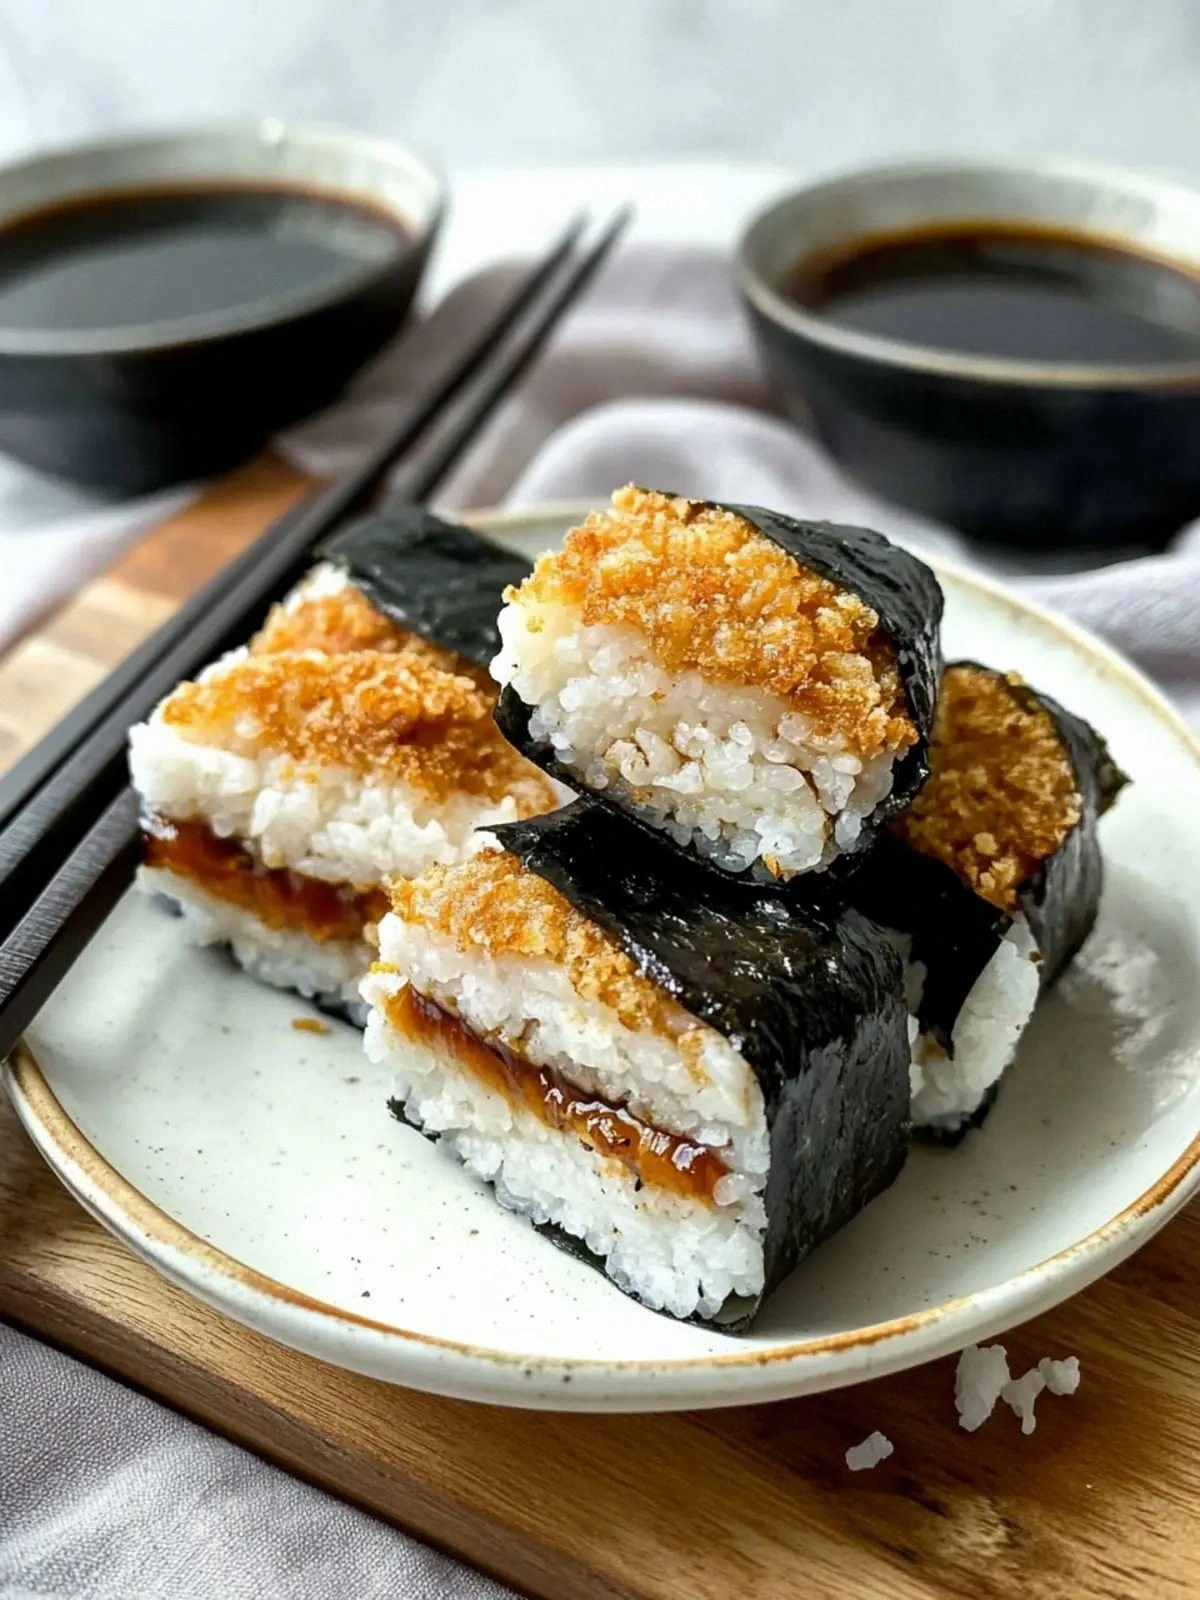
Imagine the moment you pull a freshly fried katsu out of the pan. The sizzling sound is like a small firework, the scent of toasted panko fills the air, and the golden edges crackle as they set. The chicken inside is moist and tender, not dry or rubbery, because I’ve perfected the battering process to lock in juices. When you wrap it in nori and rice, the rice clings just enough to hold the whole thing together but not so much that it becomes mushy. That first bite is a revelation: crunchy, savory, sweet, and perfectly balanced. Picture yourself pulling this out of the oven, the whole kitchen smelling incredible, and knowing you’re about to create a dish that will be the talk of any gathering.
Now, let’s dive into the details. I’ve broken down this recipe into clear, actionable steps, sprinkled with insider hacks and warnings to keep you from common pitfalls. I’ll show you how to get that crisp crust, how to keep the chicken juicy, and how to assemble the musubi like a pro. I’ll also share variations that can turn this into a dinner, an appetizer, or a quick lunch. Ready to make the best chicken katsu musubi you’ve ever tasted? Let’s get cooking.
What Makes This Version Stand Out
- Taste: The tonkatsu sauce is thickened with a hint of honey, giving a subtle caramelization that elevates the savory base. This sauce coats the rice like velvet, ensuring each bite is a burst of umami.
- Texture: The panko breadcrumb coating is layered twice, creating a double‑crunch that shatters like thin ice when you bite. The chicken remains moist because the batter is seasoned with a touch of ground black pepper that keeps the meat tender.
- Simplicity: Despite the multi‑step process, the recipe requires only ten ingredients, all of which you can find in any grocery store. The method is straightforward, making it a perfect go‑to for busy weeknights.
- Uniqueness: The combination of chicken katsu with sushi rice and nori creates a fusion that feels both exotic and familiar. The result is a handheld meal that feels like a culinary passport.
- Crowd Reaction: Friends who tried it said, “I can’t stop eating this.” I dare you to taste this and not go back for seconds.
- Ingredient Quality: Using boneless skinless chicken thighs instead of breasts gives a richer flavor and better moisture retention. The panko is fresh, not stale, which is key to a crisp crust.
Inside the Ingredient List
The Flavor Base
All‑purpose flour: This acts as the first barrier that keeps the batter from sticking to the chicken. It absorbs excess moisture and provides a light, airy texture to the coating. If you skip it, the panko will cling directly to the meat, leading to a soggy bite.
Eggs: The eggs bind the flour and panko together, creating a cohesive coating that crisps up beautifully. A single beaten egg is enough to cover four thighs, but if you prefer a richer batter, add a splash of milk for extra fluffiness.
Salt and pepper: These seasonings are the unsung heroes that bring depth to the chicken. A teaspoon of salt and half a teaspoon of ground black pepper balance the sweetness of the tonkatsu sauce and enhance the natural flavors of the meat.
The Texture Crew
Panko breadcrumbs: The secret to that unmistakable crunch lies in using panko. Its airy, flaky structure turns into a golden, crackling crust when fried. If you can’t find panko, substitute with regular breadcrumbs, but expect a denser texture.
Neutral oil: A neutral oil with a high smoke point, such as canola or sunflower, allows the chicken to fry evenly without imparting extra flavor. This keeps the focus on the coating and the sauce.
The Unexpected Star
Nori sheets: While often reserved for sushi, nori adds a subtle umami note that complements the tonkatsu sauce. The sheet also acts as a natural wrapper, holding the rice and chicken together without the need for plastic wrap.
Sushi rice: The stickiness of sushi rice is essential for a musubi that stays intact. The rice should be seasoned with a touch of vinegar, sugar, and salt for that classic flavor profile. If you don’t have sushi rice, short‑grain Japanese rice works as a close alternative.
The Final Flourish
Tonkatsu sauce: This sauce is the glue that binds the dish together, offering a sweet‑savory, slightly tangy finish. It’s made from a blend of Worcestershire, ketchup, soy sauce, and a touch of honey. A quarter cup is enough to coat each musubi evenly, but feel free to drizzle more for an extra saucy experience.
Everything’s prepped? Good. Let’s get into the real action.
The Method — Step by Step
- First, pat the chicken thighs dry with paper towels. A dry surface ensures the batter sticks properly and the crust crisps up. Season each piece generously with salt and pepper on both sides. Let the seasoned chicken rest for five minutes to allow the flavors to penetrate.
- In a shallow dish, whisk the eggs until they’re frothy. In a separate bowl, spread out the flour; in a third bowl, pour the panko breadcrumbs. This “three‑pan” setup will keep the coating process organized and prevent cross‑contamination.
- First coat each chicken thigh in flour, shaking off any excess. Then dip it into the beaten eggs, letting the liquid run off. Finally, roll the chicken in panko, pressing gently to ensure the crumbs adhere. Repeat for all four pieces.
- Heat the neutral oil in a large skillet over medium‑high heat. You’ll know the oil is ready when a small piece of panko sizzles and turns golden within a second. Carefully slide the coated chicken into the hot oil, laying them flat to avoid crowding. Fry for about 4–5 minutes per side or until the crust is a deep amber and the internal temperature hits 165°F.
- Once fried, transfer the chicken to a rack or paper towels to drain excess oil. Let the thighs rest for a minute; this allows the juices to redistribute and keeps the meat juicy. While they rest, warm the rice in a saucepan or microwave until steaming hot.
- Lay a sheet of nori on a clean surface. Spread a thin layer of rice over the nori, leaving a small margin at the edges. Place the warm, crispy chicken in the center of the rice. Drizzle a tablespoon of tonkatsu sauce over the top, letting it seep into the rice.
- Roll the nori tightly around the chicken, using the rice to seal the edges. Once rolled, slice the musubi into bite‑sized pieces using a sharp knife. Serve immediately while the crust is still crisp, or wrap in parchment for an on‑the‑go meal.
- If you’re serving a crowd, arrange the musubi on a platter and drizzle extra tonkatsu sauce over the top. A final sprinkle of toasted sesame seeds adds a subtle nutty finish that complements the savory notes.
That’s it — you did it. But hold on, I’ve got a few more tricks that will take this to another level.
Insider Tricks for Flawless Results
The Temperature Rule Nobody Follows
Why it matters: Many cooks fry at a low temperature, resulting in soggy coating. I keep the oil at 350°F (177°C) to ensure the panko browns quickly while the chicken stays moist. Use a thermometer for consistency; a drop in temperature can ruin the crunch.
Why Your Nose Knows Best
Trust your senses: The aroma of the first bite of fried chicken is the ultimate indicator that it’s done. If the scent is sweet and buttery, you’re ready to remove it. If it smells oil‑heavy, give it a few more minutes.
The 5‑Minute Rest That Changes Everything
Why it matters: Resting the chicken for five minutes after frying lets the juices redistribute, preventing a dry center. I’ve seen people skip this step and end up with a tough bite. Letting it sit is a small investment for a huge payoff.
The Secret of Evenly Spaced Rice
Technique: Use a small ladle to scoop the rice and spread it evenly on the nori. A thin, even layer ensures the wrapper doesn’t tear and that each bite has the same amount of rice.
The Tonkatsu Sauce Trick
Why it matters: Drizzling the sauce before rolling creates a moist interior, preventing the rice from drying out. If you add sauce after rolling, it can make the nori soggy. I always pour a small amount on the chicken before adding the rice.
The Final Seal
Method: After rolling, press the edges of the nori with a damp paper towel. This seals the wrapper and keeps the rice from sliding out. I use a light mist of water to avoid sticking the rice to the paper.
Creative Twists and Variations
This recipe is a playground. Here are some of my favorite ways to switch things up:
Spicy Sriracha Katsu
Swap the tonkatsu sauce for a mix of sriracha and honey. The heat pairs beautifully with the savory chicken, making it a hit for spice lovers.
Teriyaki Glaze
Brush the fried chicken with a teriyaki glaze before adding the rice. The sweet soy flavor adds a different dimension that feels like a Japanese comfort food.
Cheese‑Stuffed Katsu
Insert a slice of mozzarella or cheddar between the chicken and rice before rolling. The melted cheese creates a gooey center that’s irresistible.
Miso‑Infused Rice
Stir a teaspoon of miso paste into the sushi rice before seasoning. The umami boost complements the tonkatsu sauce and adds depth.
Vegan Katsu Musubi
Use tofu or tempeh instead of chicken, and replace the eggs with a flaxseed mix. The result is a plant‑based version that still delivers that signature crunch.
Breakfast Katsu
Serve the musubi with a side of scrambled eggs and a drizzle of maple syrup. It’s a hearty breakfast that feels like a lunch‑time treat.
Storing and Bringing It Back to Life
Fridge Storage
Store leftover musubi in an airtight container for up to three days. Keep the nori sheets separate to avoid them becoming soggy. When ready to eat, let them sit at room temperature for 15 minutes before reheating.
Freezer Friendly
Wrap each musubi tightly in parchment paper and place in a freezer bag. Freeze for up to two weeks. When reheating, skip the microwave to preserve the crunch.
Best Reheating Method
Reheat in a hot skillet over medium heat for two minutes per side, or in a toaster oven at 350°F for five minutes. Add a tiny splash of water to the pan before reheating; this steams the rice back to perfection while keeping the crust crisp.